St. Patrick’s Day Dinner 2019

Corned beef and cabbage is a must for any St. Patrick’s Day feast. And if haven’t cured your own corned beef, you’ve gotta try it! It really is pretty easy if you plan ahead — like brining a turkey, but for 5-7 days. The one special ingredient you need is curing salt (sodium nitrite), also known as prague powder or pink salt (not the same as Himalayan pink salt). It’s easiest to purchase online — I bought this one a couple years ago and it will probably last me forever.

Typically corned beef is made from brisket — but any tough cut will do (must be suited for long, slow cooking, like a pot roast). So this time I’m trying it with a chuck roast. That has led to a slight hiccup in my menu planning: Because the roast is thicker than a brisket, there’s no room for cabbage in my slow cooker! Consequently I’ve added a mustardy coleslaw to the lineup, which I think complements the corned beef pretty well.

This year’s St. Patrick’s Day menu:

  • Home-Cured Corned Beef (roughly based on this curing recipe and this cooking recipe)
  • Mashed Potato Casserole with Cheddar and Green Onions (recipe)
  • Braised Collard Greens (recipe: Braised Winter Greens from Cook’s Illustrated‘s More Best Recipes)
  • Mustardy Cabbage and Apple Slaw (recipe)

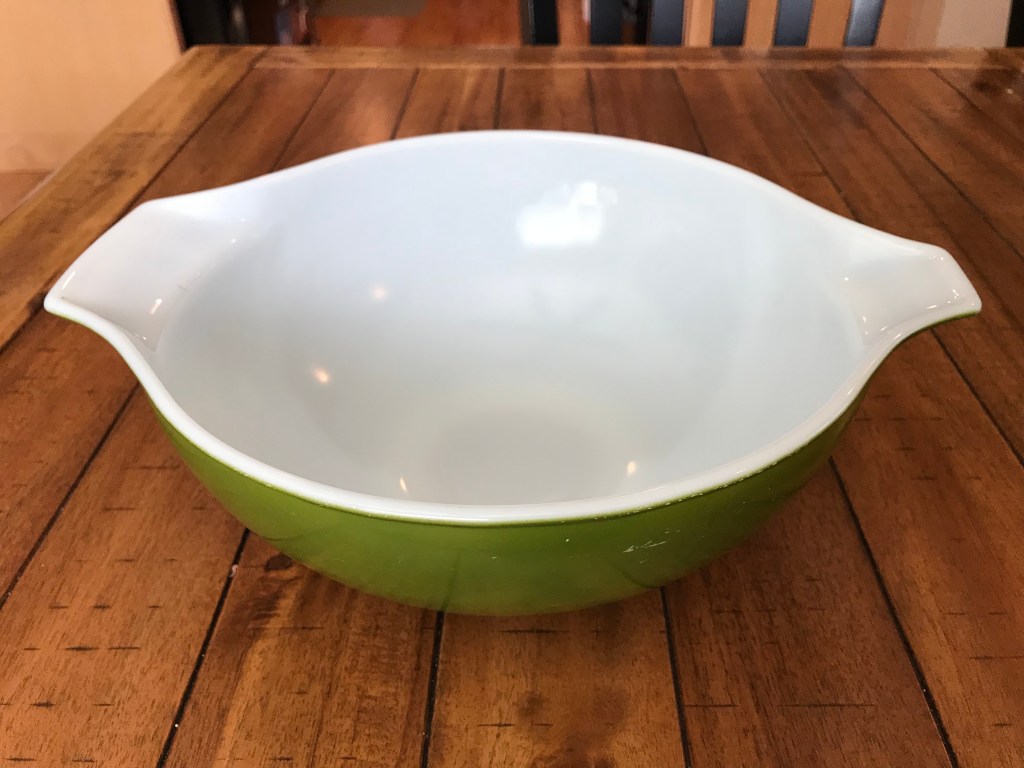
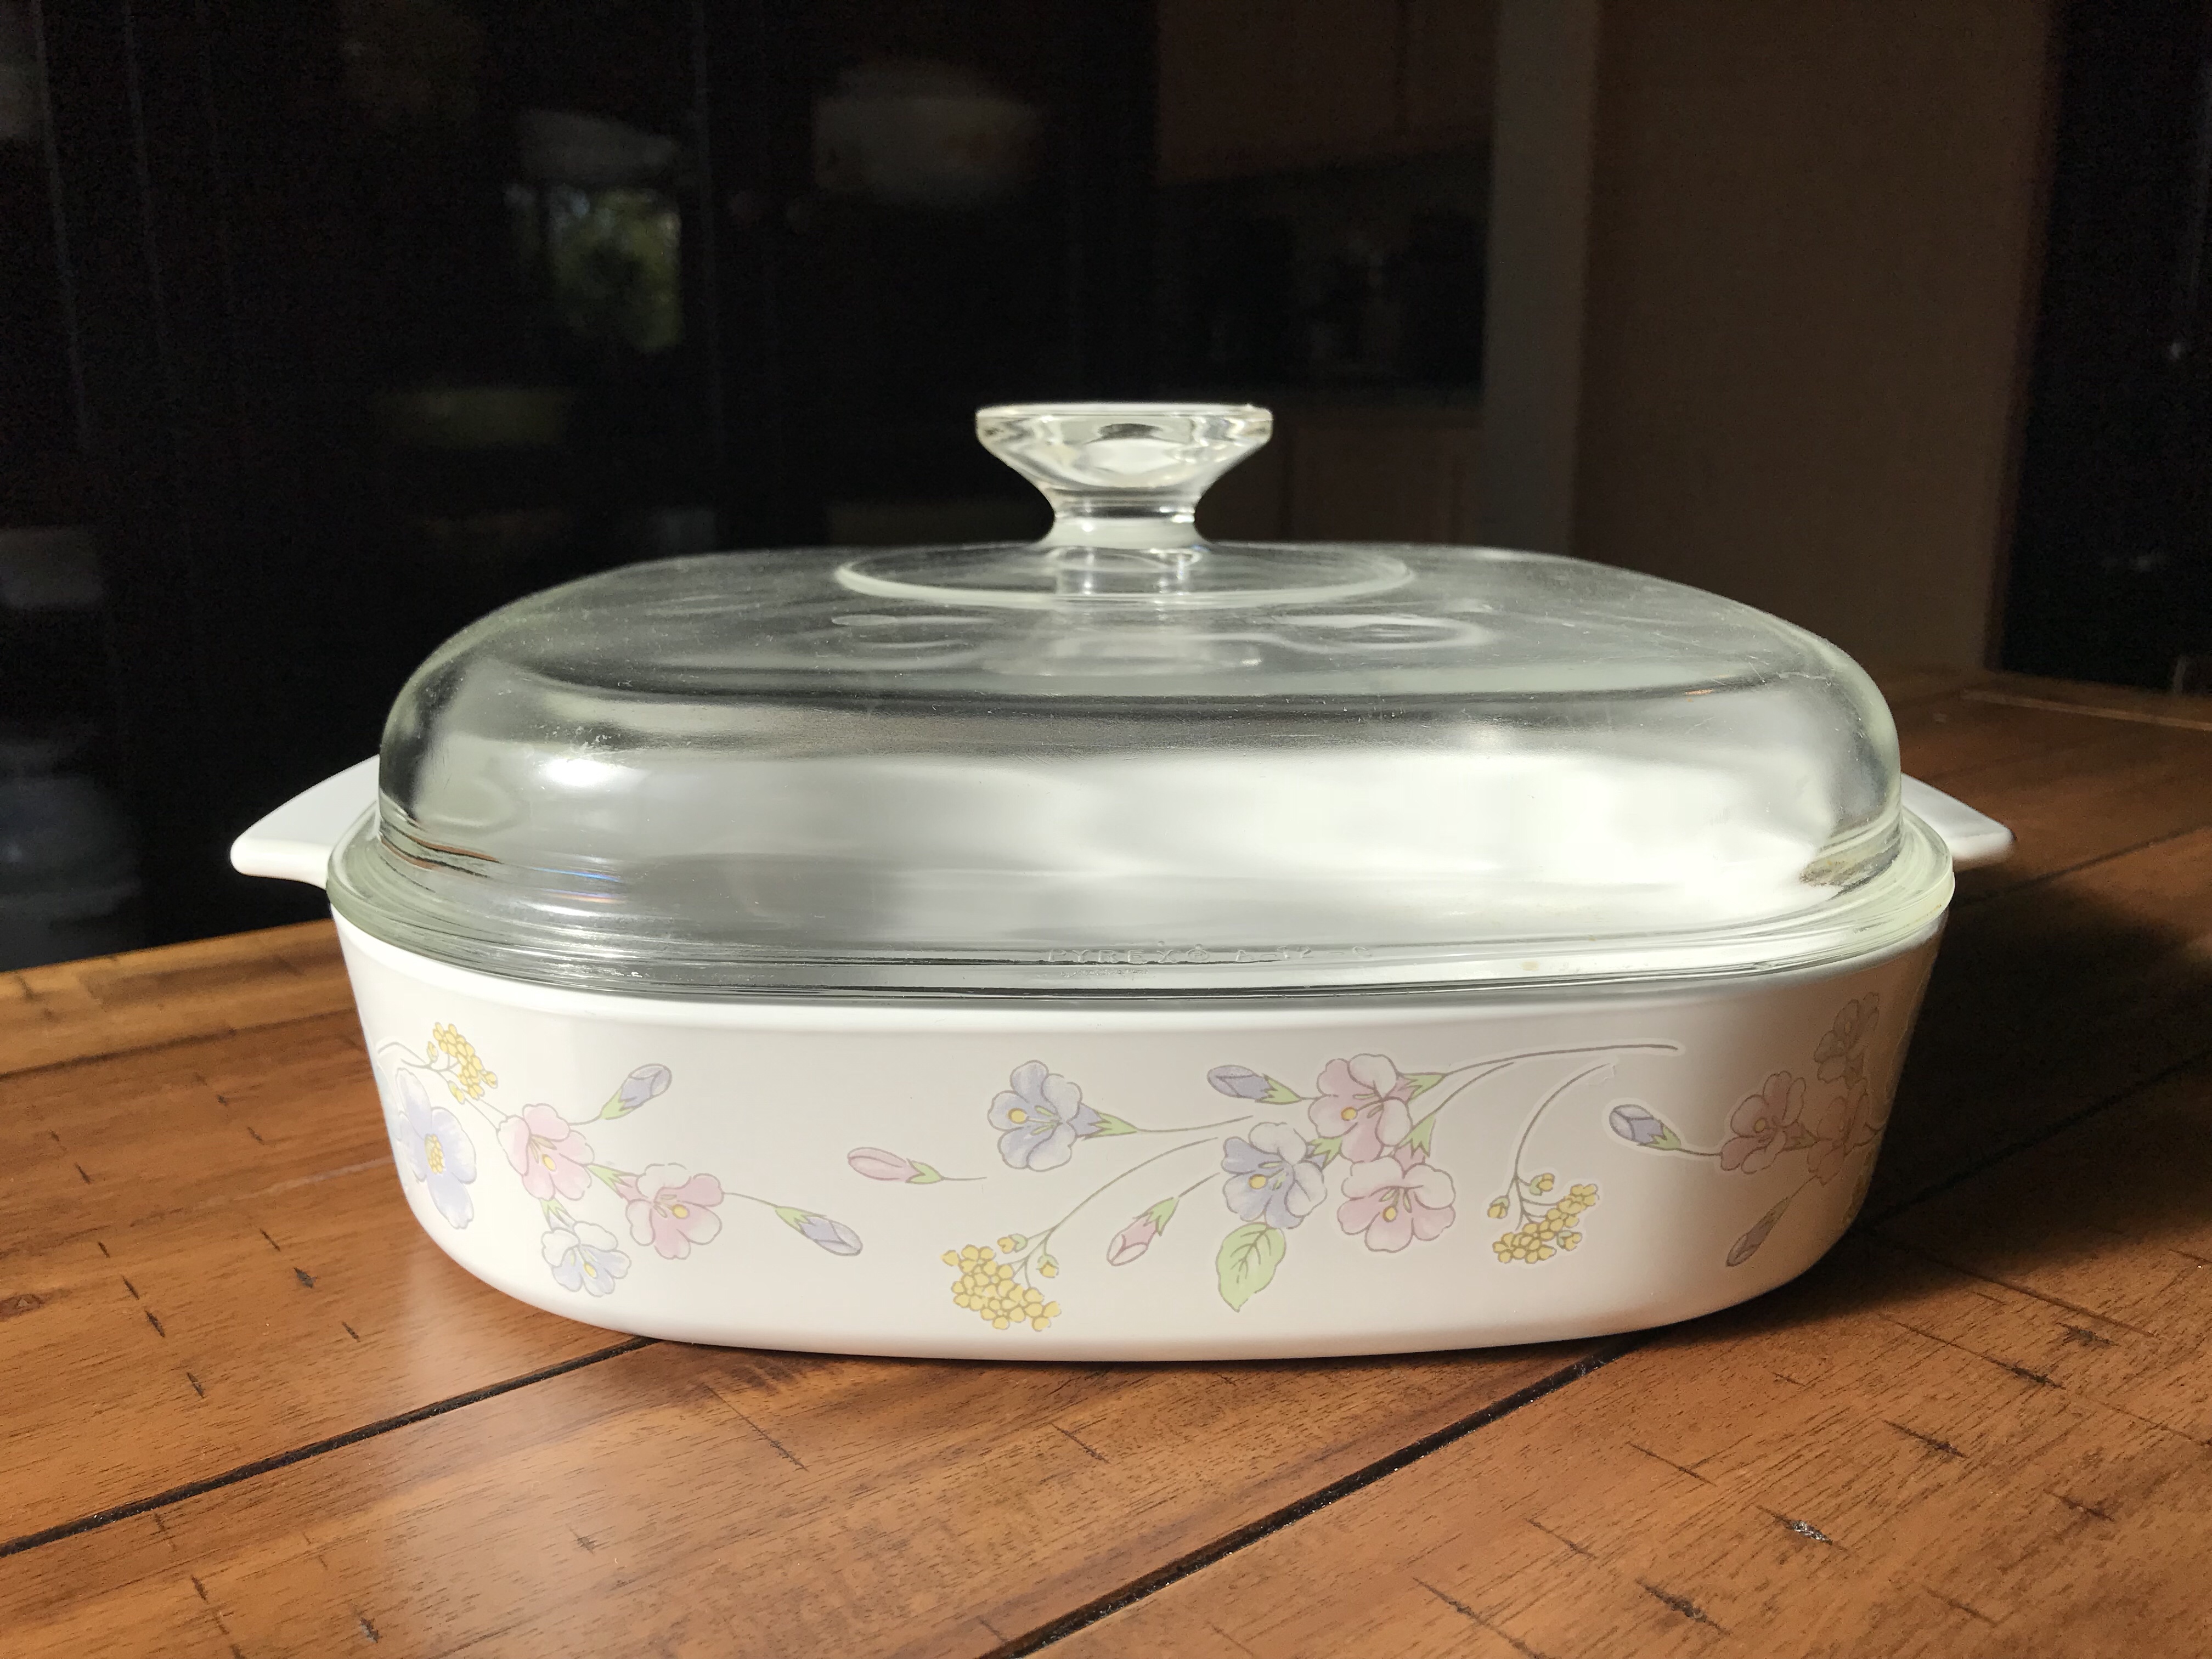
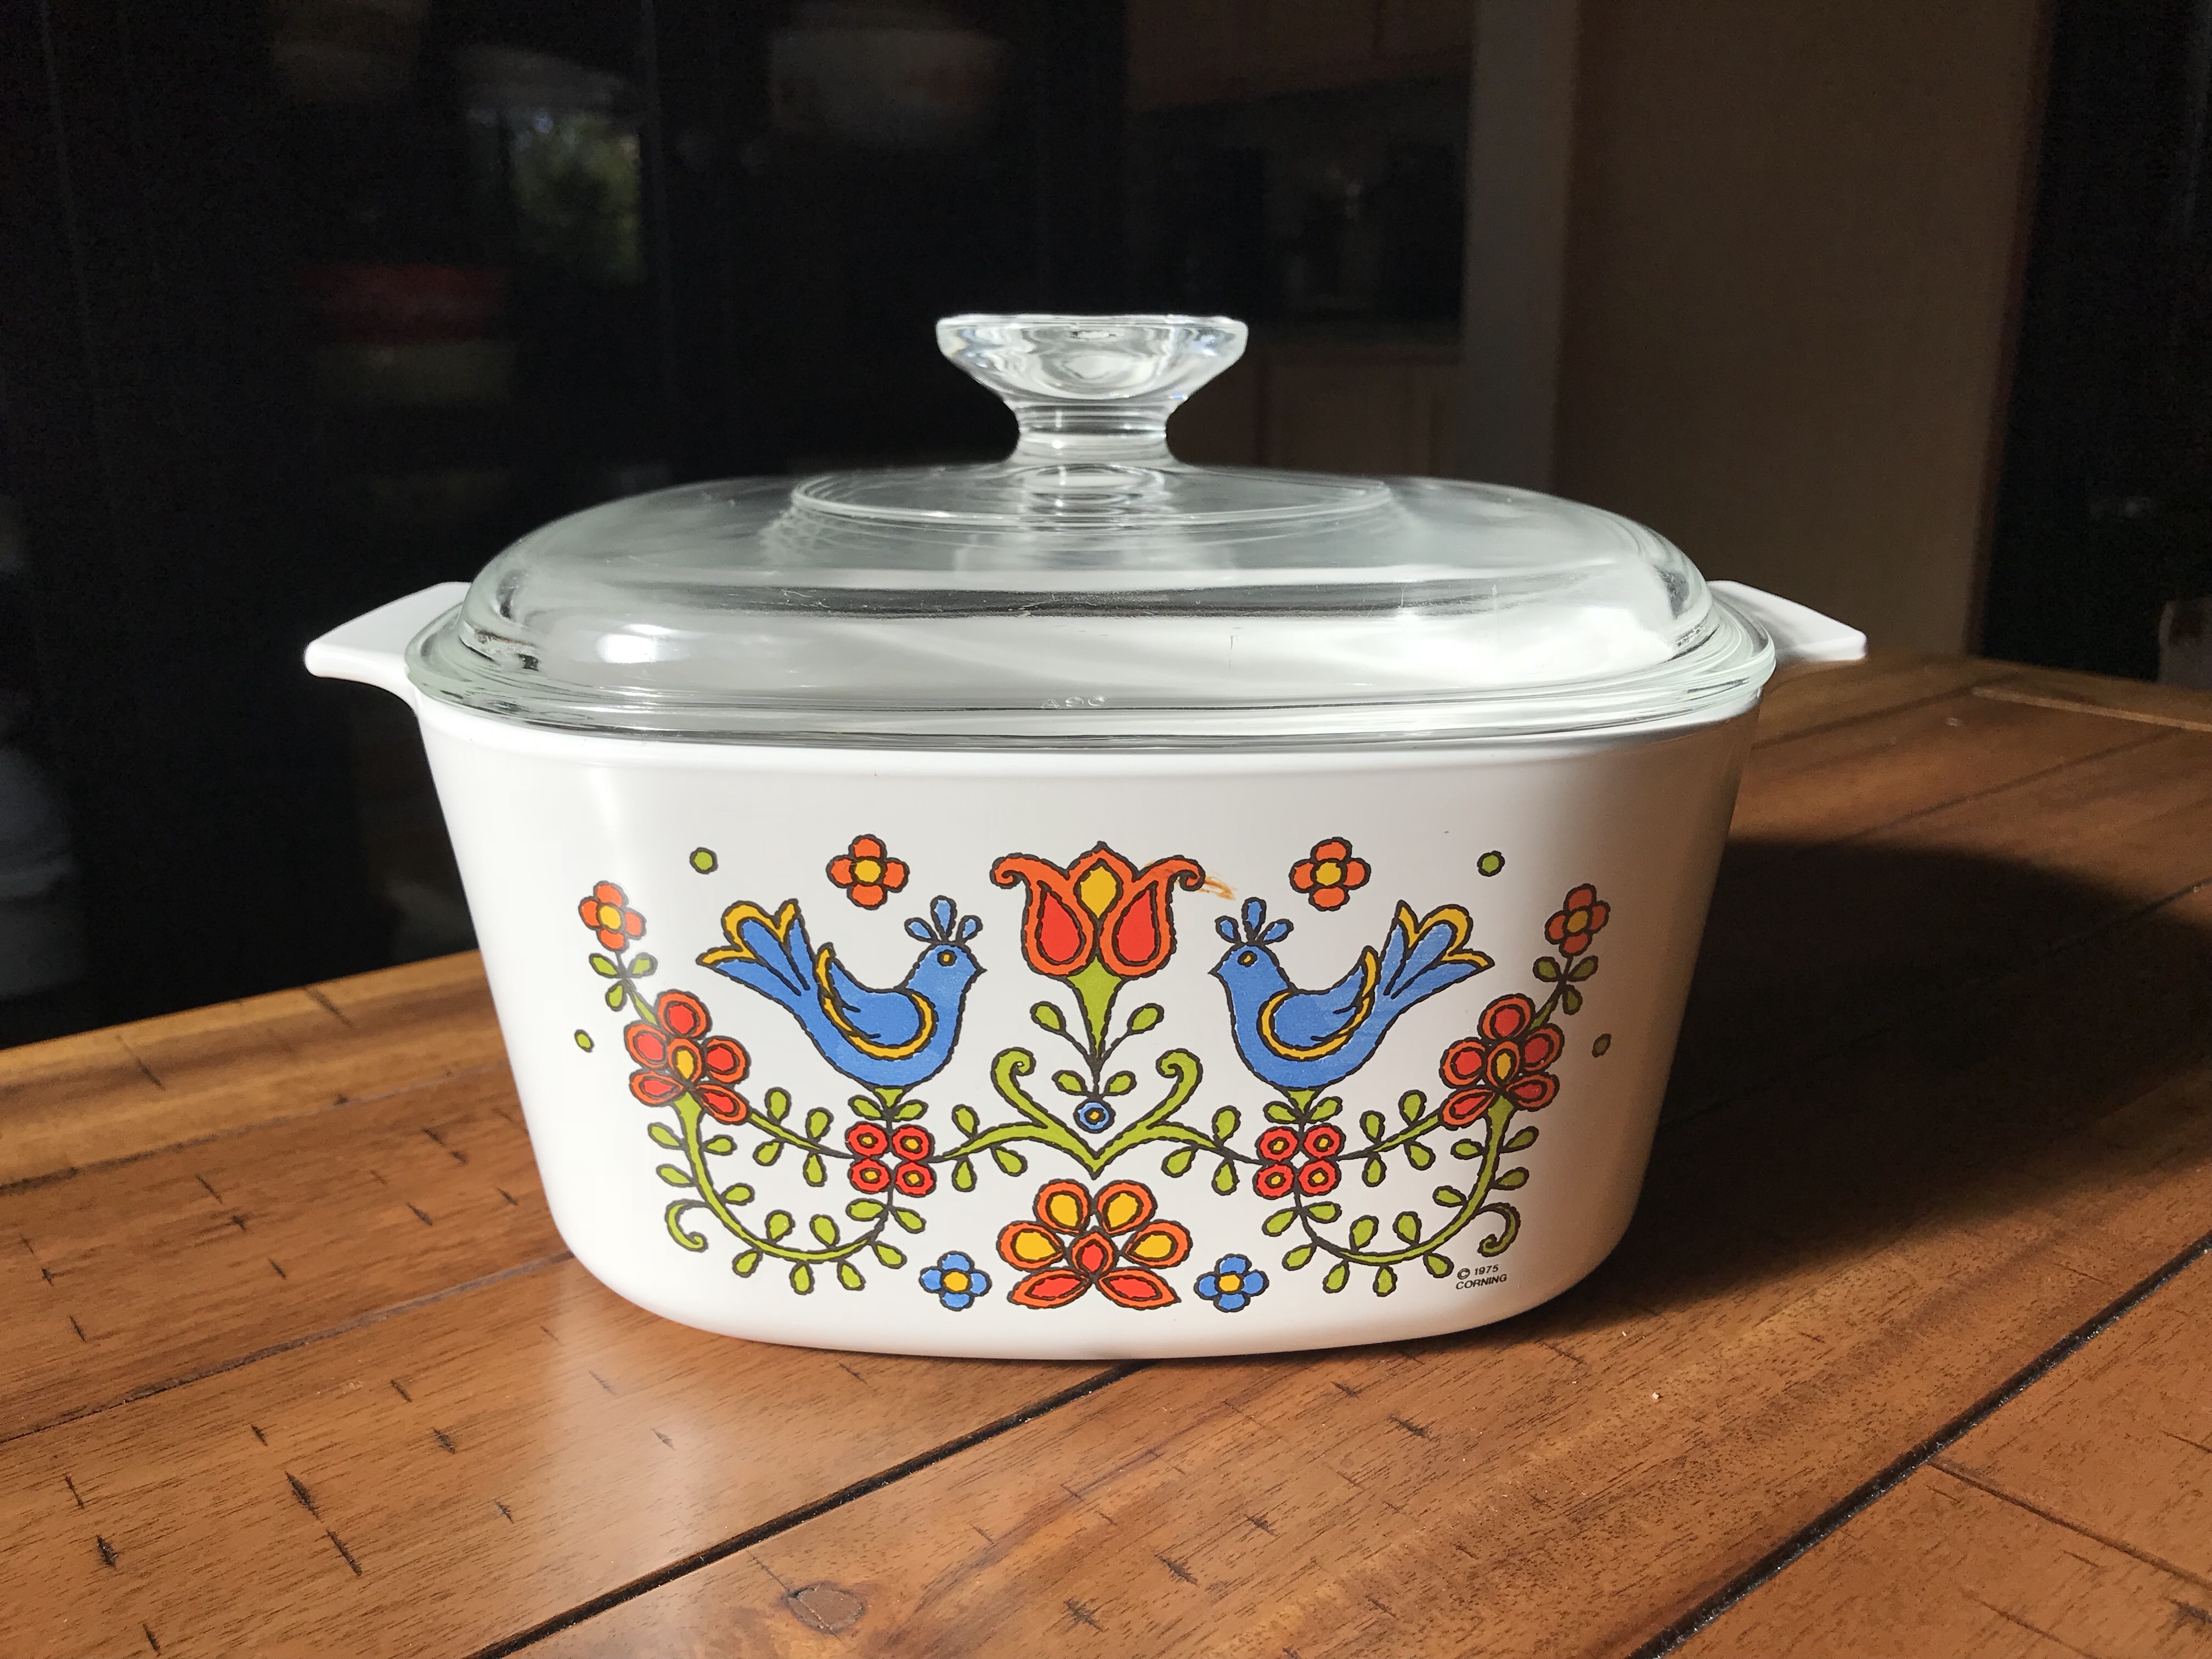
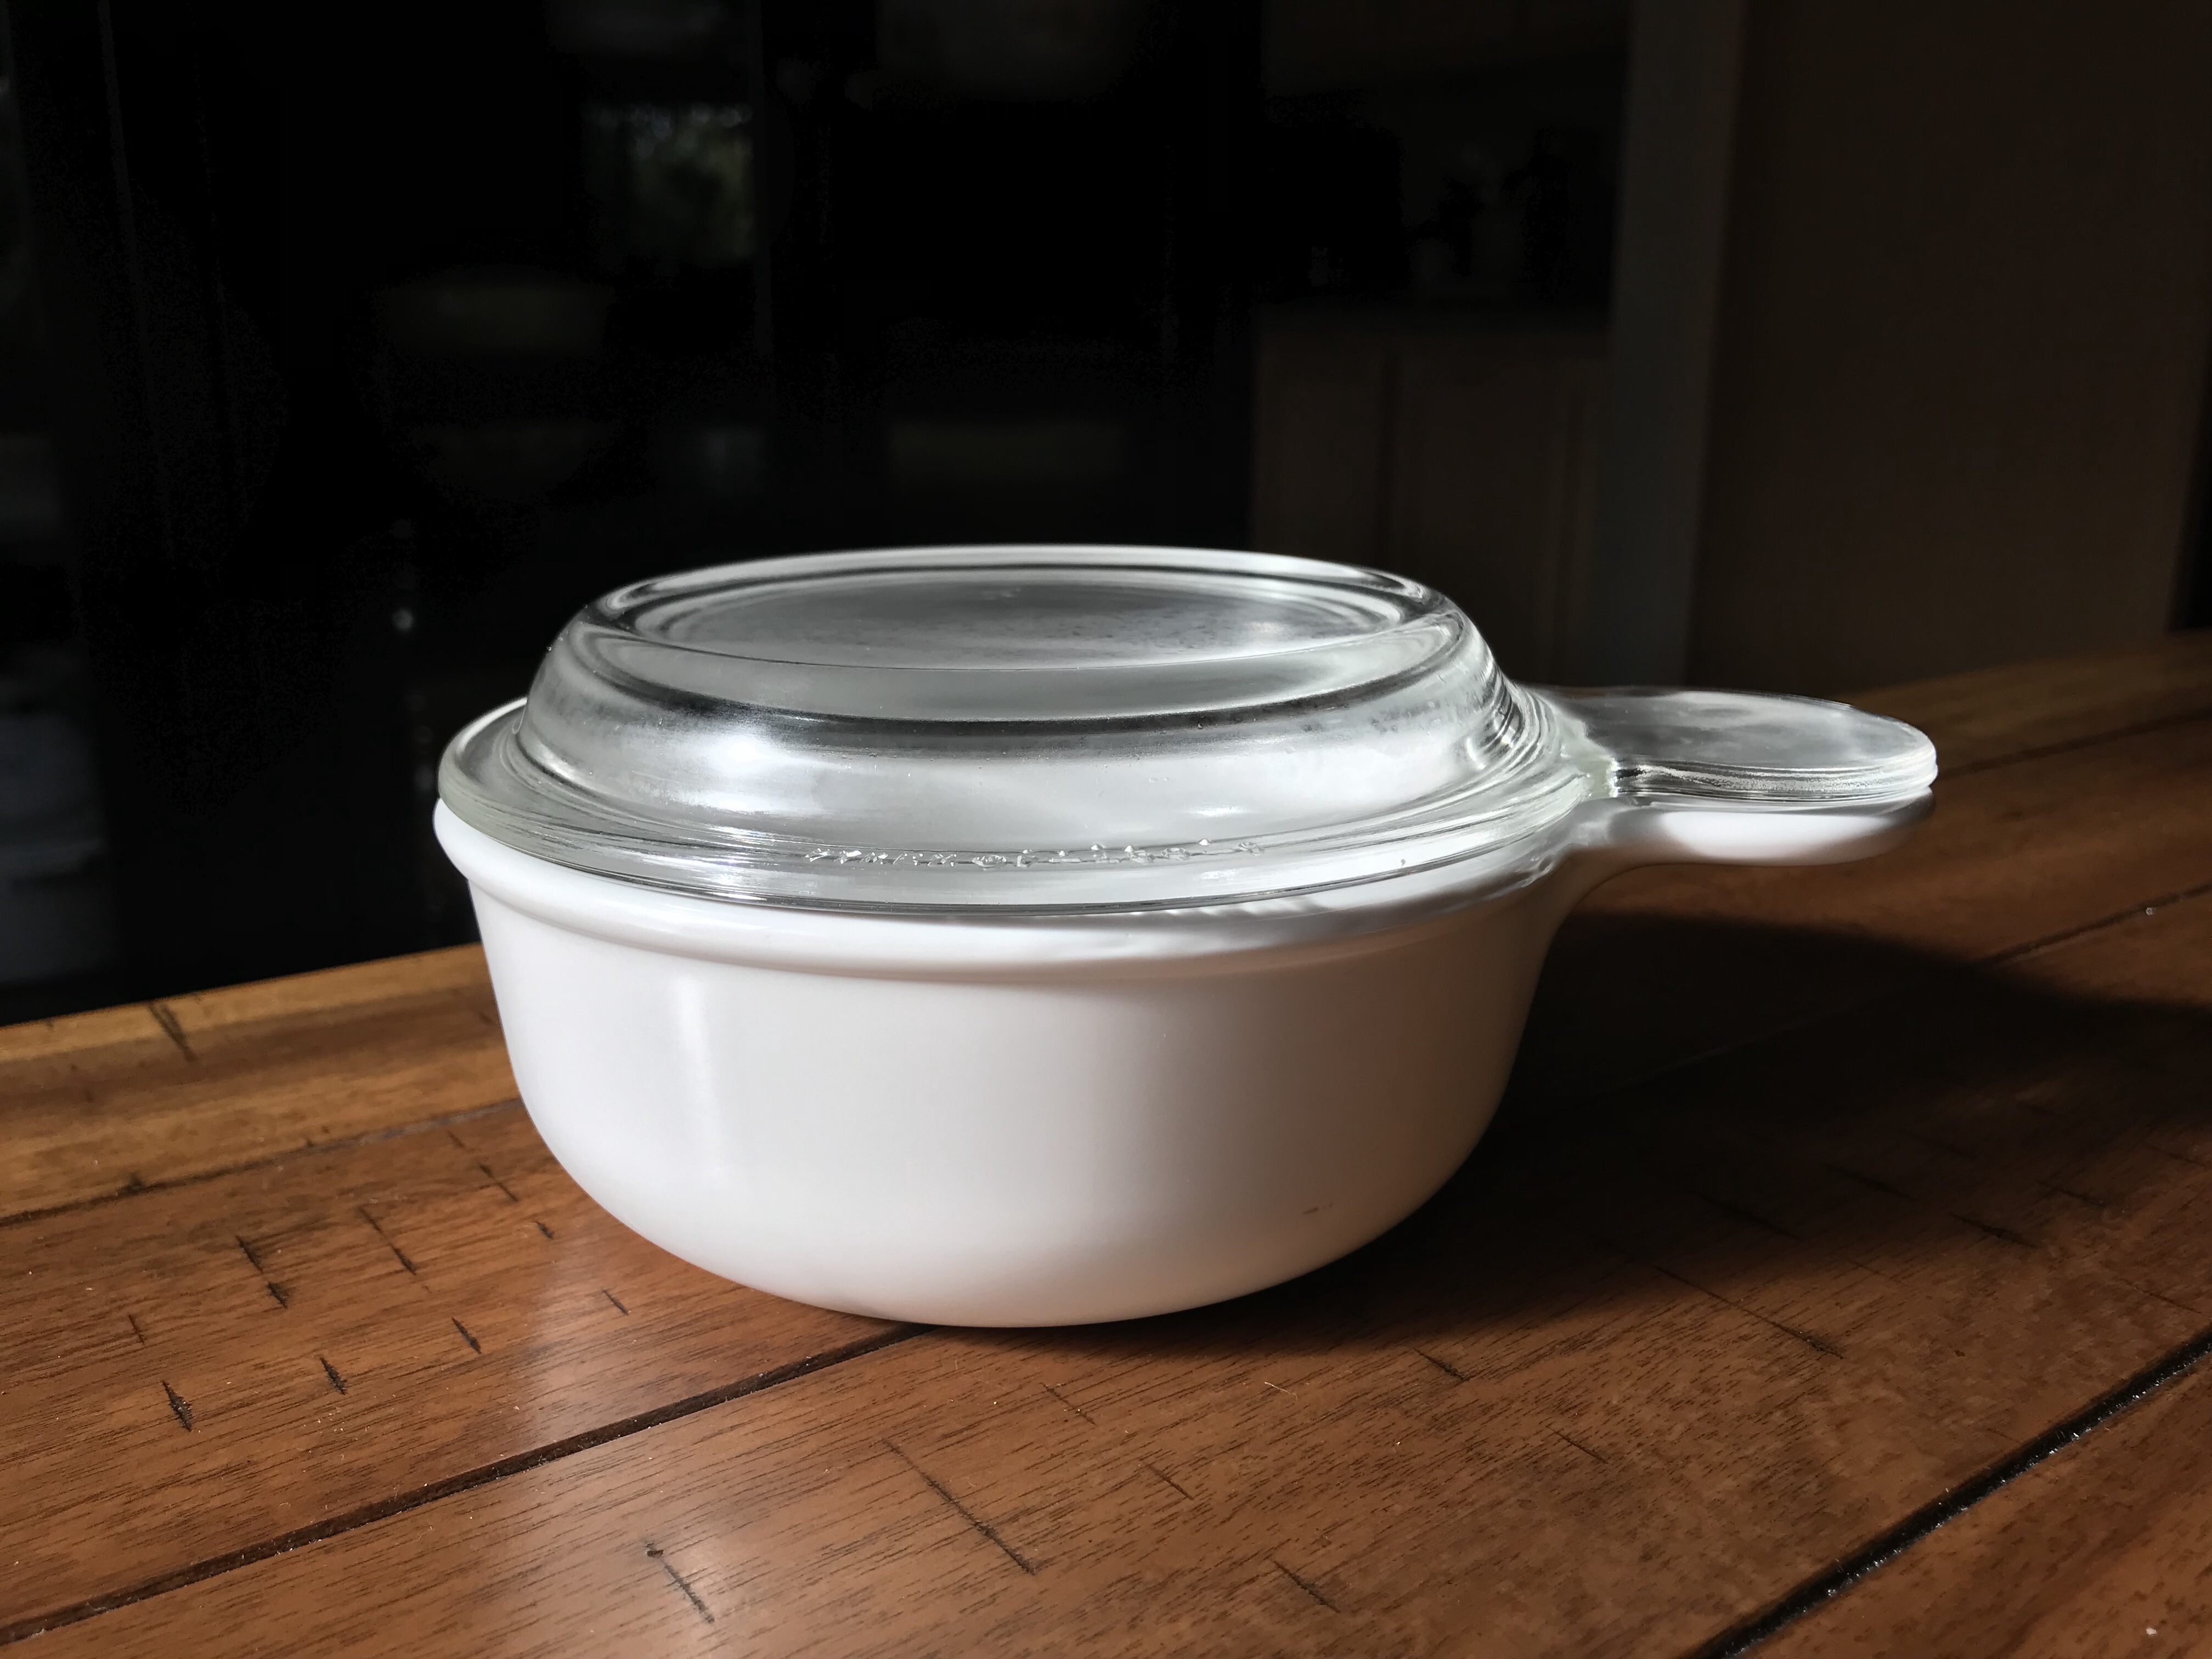
Pictured: Corning Ware Green Macrame P-332 Roaster, Corning Ware April DC-1 1/2-B Designer Casserole, Pyrex Spring Blossom 043 Oval Casserole, Pyrex Verde 444 Cinderella Mixing Bowl

Sausage and Spinach Spaghetti Pie

I’ve been on the hunt for a casserole that is fun, dramatic and delicious in equal measures — and I think I’ve found it! I love this recipe because it’s a meal in itself, but a side of garlic bread and salad wouldn’t hurt. I’m also planning to try making it again with other ingredients — a meatless version would still be tasty, as would other vegetables (eggplant? chard? zucchini?). Just be careful not to add too much moisture, or the final product won’t set properly.

If you don’t have a springform pan, an 8-inch cake pan will do. But you’ll miss out on the fun of releasing the sides of the pan and letting the pie stand on its own.

Adapted from Food Network’s Beefy Cheesy Spaghetti Pie.

Serves 6

Ingredients

6 oz uncooked spaghetti
2 tbsp olive oil
8 oz bulk Italian sausage (remove casings if you’re using links)
1 onion, chopped
3 cloves garlic, minced
1 15-oz can crushed tomatoes
12 oz baby spinach, roughly chopped
1/4 cup heavy cream
salt
pepper
4 large eggs
1/4 cup plus 1 tbsp grated Parmesan cheese
8 oz small mozzarella balls, drained
cooking spray

Preheat oven to 425 degrees.

Cook the spaghetti according to package directions, until it’s just al dente. Drain, transfer to a large bowl, then toss with 1 tbsp olive oil to keep it from sticking together. Set aside.

In a large skillet over medium heat, cook sausage in 1 tbsp olive oil, breaking it up into crumbles, until no pink remains. Spoon it out onto a paper towel-lined plate and set aside.

Add the onion to the skillet and saute until soft and translucent. Add the garlic and cook until fragrant, about one minute more. Add the tomatoes and scrape up any brown bits from the bottom of the pan.

Add the spinach a handful at a time, stirring until wilted. Stir in the cream and simmer for about 5 minutes to thicken the sauce. Add salt (about 1 tsp) and pepper to taste.

Stir together the spaghetti, sausage and sauce. Allow to cool slightly. In a small bowl, whisk together eggs and 1/4 cup Parmesan, then stir into the spaghetti mixture.

Grease a 9-inch springform pan with cooking spray. Transfer half of the spaghetti mixture to the pan, then dot with half of the mozzarella balls. Add the rest of the spaghetti mixture, then top with the rest of the mozzarella balls and 1 tbsp Parmesan.

Bake until the center is set, the edges are browned and crispy and the cheese is starting to turn golden, about 25 minutes. Let stand 5-10 minutes before serving.

Pictured: Pyrex Verde 444 Cinderella Mixing Bowl, Corning Ware Snack-It Plate

Antipasto Salad with Lemon Garbanzos

Garbanzo beans are one of the stars of this tangy, vibrant salad, so I amped up their flavor with a simple marinade of lemon juice, parsley and salt. Most of the other ingredients can be adjusted to taste: For example, while salami is one of the things that puts the “antipasto” in an antipasto salad, it can be omitted for an equally delicious vegetarian version.

Make sure all the salad ingredients are thoroughly drained and/or patted with a towel so they are as dry as possible before combining.

Serves 10-12

Ingredients

For the dressing:
3/4 cup olive oil
1/4 cup plus 1 tbsp red wine vinegar
2 tbsp apple cider vinegar
2 cloves garlic, minced
1 tbsp fresh parsley, minced
2 tsp whole- or coarse-grain mustard
1 tsp dried oregano
1 tsp salt
1 tsp pepper
pinch cayenne

For the lemon garbanzos:
1 15-oz can garbanzo beans, drained and rinsed
juice of 2 lemons
2 tbsp fresh parsley, minced
1 tsp salt

For the salad:
1-2 romaine hearts, torn into bite-sized pieces
1/2 small red onion, chopped
1/2 lb cherry tomatoes, halved or quartered
1 small red bell pepper, chopped
8 oz fresh mozzarella balls
6 oz pitted Kalamata olives
4 oz whole or thick-cut dry salami, cut into small chunks
12-15 pepperoncini peppers, sliced
2 oz shaved Parmesan cheese

In a small bowl, whisk together the dressing ingredients. Cover and refrigerate for at least 1 hour to allow the flavors to meld. (Note: This recipe makes more dressing than needed for one salad; refrigerate the excess and use within 1 week.)

In another bowl, toss the garbanzos with lemon juice, parsley and salt. Cover and refrigerate for at least 1 hour and up to 6 hours, stirring occasionally to distribute the marinade.

Drain the garbanzos, then combine with the rest of the salad ingredients in a large bowl. Toss with dressing to taste and serve.

Pictured: Pyrex Verde 404 Round Mixing Bowl, Pyrex Spring Blossom 401 Round Mixing Bowl

Spinach, Artichoke & Leek Dip

Most recipes for spinach artichoke dip require a particular step that has always put me off: thawing frozen spinach and squeezing it dry. The bits of wet, defrosted spinach tend to stick on everything, and it’s hard to get enough liquid out.

Then I discovered that using fresh spinach is actually easier, because the liquid cooks off when you saute it! Suddenly a ho-hum dish turned into one I actually enjoy making. Plus it’s so delicious, people inevitably keep coming back for more.

Adapted from The New York TimesSpinach Artichoke Dip.

Ingredients

2 tbsp olive oil
1 leek, chopped (white and light green portion only)
1 clove garlic, minced
12 oz fresh spinach, chopped
1 14-oz can artichoke hearts (I prefer bottoms), drained, patted dry and chopped
8 oz cream cheese, cut into small pieces
4 oz fresh mozzarella, torn into small pieces
4 oz sour cream
1/4 cup freshly grated Parmesan cheese
pinch red pepper flakes
salt
pepper

In a large skillet over medium heat, saute the leek in oil until softened and starting to brown slightly. Add garlic and cook until fragrant, about a minute more.

Add spinach a little at a time, allowing it to wilt in the pan before adding more. Saute until the spinach is cooked and most of the liquid has evaporated. Add artichokes and cook for a few minutes more.

Turn the heat down to low, then add cream cheese and mozzarella and stir until melted. Add sour cream, Parmesan and red pepper flakes and stir until well mixed. Season to taste with salt and pepper.

Transfer to a shallow 1-quart dish and serve hot. You can also refrigerate overnight; reheat in a 375-degree oven until the dip is hot throughout and bubbly on the edges.

Pictured: Corning Ware Merry Mushroom B-1-B Round, Pyrex Verde 444 Cinderella Mixing Bowl

Christmas Dinner 2018

Arcopal’s French Hen pattern reminds me of The 12 Days of Christmas, so I made it the starting point for my Christmas dinner tableware this year. I haven’t had a chance to use my Arcopal casserole dish since finding it last year, so I’m excited to finally put it to work. I’ll combine it with some red and green Pyrex to round out the Christmas motif.

I’m also using some Corning Ware petite pans to make individual bread puddings for dessert. They don’t match, but they’ll allow me to prep the puddings a day in advance and then go directly from refrigerator to oven for baking — so hey, function over form!

The only thing I’m missing is a vintage platter for my Cornish hens. I’m going to have to start looking for one on my thrifting adventures.

Tentative menu:

  • Roasted Cornish Game Hens with Lemon and Herbs (recipe)
  • Barley and Herb Pilaf
  • Mashed Potatoes
  • Roasted Brussels Sprouts
  • Salad
  • Mini Bourbon Bread Puddings (recipe)

Pictured: Pyrex Verde 404 Round Mixing Bowl, Arcopal French Hen Casserole, Pyrex 024 Holiday Casserole Round Casserole, Pyrex 024 Lime Round Casserole, Corning Ware Spice O’ Life P-41-B Petite Pan (x2), Corning Ware Blue Cornflower P-41-B Petite Pan (x5), Corning Ware Blue Cornflower P-89-B Lipped Saucepan

Roasted Tomato and Black Bean Salsa

There’s nothing like fresh homemade salsa — especially if you grow your own tomatoes. But if you’re like me and pretty lacking in the green thumb department, supermarket tomatoes can still make a tasty salsa, with a little help from the broiler.

I typically opt for cherry tomatoes, because they seem to have the most flavor of all the grocery store tomato options. Roasting them helps concentrate that flavor even more and gives them a mild smokiness — creating a great salsa base. Roasting the jalapeños mellows them out a bit so that they add just the right amount of spice. Corn brings a little sweetness, and black beans practically turn the salsa into a meal in itself!

This recipe makes about 4 cups of salsa — enough to bring to a party and save some for yourself.

Ingredients

2 lbs cherry tomatoes, sliced in half
6 jalapeño peppers, stemmed, sliced in half and mostly seeded
6 cloves of garlic, unpeeled
1 red onion, chopped fine
1 15-oz can black beans, drained and rinsed
1 cup frozen corn, rinsed to defrost
1-2 tsp salt
1/4 cup fresh squeezed lime juice
1/2 cup cilantro leaves and tender stems, chopped fine

Preheat oven on the broiler setting and set a rack about four inches from the heat source. Arrange tomatoes cut side up on a lightly oiled sheet pan, then broil until they start to char in spots, about 8-10 minutes. Set aside to cool.

On another lightly oiled sheet pan, arrange garlic and jalapeños (also cut side up). Broil 4-5 minutes, then flip everything and broil until jalapeño skins are well charred. Keep an eye on the garlic to make sure it doesn’t burn (you’ll probably need to take it out a few minutes early). When the jalapeños are done, transfer to a Ziploc bag, seal and let sit for about 10 minutes (this helps separate the skins from the flesh of the peppers).

Squeeze the garlic out of its skin and mince. Place in large bowl and add onion, black beans and corn. Peel the jalapeños, chop fine and add to the bowl. Mix well.

Squeeze the tomatoes out of their skins and into a small bowl. Puree with an immersion blender (or regular blender), then stir into the black bean mixture.

Add salt to taste, then stir in lime juice and cilantro. Chill for at least 1 hour before serving.

Pictured: Pyrex Verde 444 Cinderella Mixing Bowl, Pyrex Clear 323 Mixing Bowl, Glasbake French Casserole

Radish and Green Onion Kimchi

This is my favorite kimchi to make, because it’s fast, easy and delicious. With cabbage-based kimchi, you have to massage the salt and spices into the cabbage leaves, but with radishes you basically toss it all together and that’s it! Plus, radish kimchi ferments in about three days, while cabbage kimchi usually takes more like six.

The recipe is based on Karen Solomon’s Cubed Radish Kimchi in Asian Pickles, which is a fascinating cookbook about pickles from Japan, Korea, China, India and Southeast Asia. In traditional radish kimchi, the radishes are cut into cubes, but I prefer mine sliced and quartered because it’s easier to pack into mason jars and I think the texture comes out better. I also love adding green onions, or occasionally incorporating some carrots. I find kimchi is very forgiving, so it’s hard to go wrong!

Note: In the photos below, I was making an extra large batch (about 6 1/2 pounds of daikon radish), so a regular batch should fit in one large bowl and two quart-size mason jars.

Ingredients

3 pounds daikon radish, peeled, cut into 1/4-inch slices and quartered
3 tbsp sea salt
3 tbsp sugar
3 cloves garlic, minced
1-inch piece ginger root, unpeeled, minced
1/2 cup gochugaru (Korean red pepper flakes)
3 tbsp soy sauce or fish sauce
1 tbsp gochujang (Korean fermented red chili paste)
4 stalks green onion, chopped

In a large bowl, combine the radish slices, salt and sugar and stir until evenly distributed. Let it sit for 15 minutes, stir, then let it sit for another 15 minutes.

In a separate bowl, combine the garlic, ginger, gochugaru, soy sauce and gochujang.

Drain the radishes, then add the spice mixture and the green onions and mix thoroughly. Pack it all into mason jars or your preferred fermentation vessel, pressing down firmly to eliminate air pockets.

Cover the jars loosely (for example, with a half-tightened lid, so gasses can escape) and ferment at room temperature for about three days (keep out of direct sunlight). Shake the jars once a day to distribute the juices. The kimchi should have a pleasant fermented odor — strong but not foul. Taste for doneness, then transfer to the refrigerator.

Pictured: Pyrex Speckled Lines 404 Round Mixing Bowl, Pyrex Verde 404 Round Mixing Bowl, Pyrex Spring Blossom 2 403 Round Mixing Bowl, Fire King 472 Casserole

7 Must-Have Pyrex and Corning Ware Dishes

Much as I would love to collect every piece of vintage kitchenware that I come across, space constraints demand a more practical approach. I try to buy things that I will actually cook with, and if they have multiple uses, even better. Of course, I must admit I own more ovenware than any one person really needs, because I also collect dishes that interest me or that have a pattern I haven’t seen before. I’ll get around to using it all … eventually!

That got me thinking about which pieces I really couldn’t live without. I managed to narrow the list down to seven items that get the most use in my kitchen:

img_2637

Pyrex 404 Round Mixing Bowl (pictured in Verde)
This is the largest of the nested mixing bowls (4 quarts) — perfect for batters and doughs. It’s also a nice size for serving salads, rolls, chips, etc. Plus it’s ovenware, so you could totally bake a casserole in it.

img_2635

Pyrex 024 Round Casserole (pictured in Holiday Casserole)
I’ve used this shallower bowl (2 quarts) for marinating chicken, as a serving piece, for storing leftovers in the fridge, and for baking casseroles. Plus: It seems fairly easy to find lids in this size.

img_2632

Pyrex 472 Round Casserole (pictured in Spring Blossom)
This is my favorite size (1 1/2 quarts) for hot or cold party dips, or small side dishes like cranberry sauce. You could also eat out of it.

img_2634

Corning Ware A-5-B Saucepot (pictured in Spice O’Life)
This is Corning Ware’s largest pot (5 liters), great for soups, chili, roasts and the like.

img_2638

Corning Ware A-10-B Skillet (pictured in Pastel Bouquet)
This one shares the same lid with the A-5-B, which is handy. I’ve put it to use as a frying pan, for braising meats in the oven and as a baking dish.

img_2633

Corning Ware A-3-B Casserole (pictured in Country Festival)
This holds about the same amount as a 13x9x2 pan (3 quarts; the conversion works better for casseroles than for cakes). It’s an all-around nice size for cooking and serving.

img_2640

Corning Ware Grab-It Bowls (I’ve only ever found these in white, although some patterned versions do exist)
These make great everyday tableware — for cereal, soup, salad, etc — but they are also a perfect size (15 oz) for individual casseroles like pot pie. And being Corning Ware, they can go under the broiler, in the freezer and everywhere in between. How can you beat a cereal bowl that you can also put on the stovetop to heat up soup, melt butter or fry an egg? Grab-Its also have both glass and rubber lids available, making them handy for storing single-serving leftovers.

Thanksgiving Dinner 2017

I love cooking for Thanksgiving, but I love planning the cooking even more: looking for recipes, thinking about logistics, choosing the right dishes, coming up with a schedule, etc. I think I like cooking projects more than the cooking itself.

So when I saw this article on The Kitchn about organizing serving dishes for Thanksgiving, I knew I wanted to do something similar. I had already been thinking about setting out my vintage cookware in preparation for the big day, but now I needed to take pictures.

I think this will be a new tradition for me, documenting the mix of dishes I use for holiday meals. For this Thanksgiving, I am going with a variety of greens and floral designs, drawn from my favorite Pyrex and Corning Ware patterns.

Pictured: Corning Ware Floral Bouquet Third Edition A-3-B Casserole, Corning Ware Floral Bouquet Third Edition P-43-B Petite Pan, Fire King Gravy Boat, Pyrex Lime 024 Round Casserole, Pyrex Verde 403 Round Mixing Bowl, Pyrex Spring Blossom 045 Oval Casserole, Pyrex Spring Blossom 043 Oval Casserole, Pyrex Spring Blossom 72 Butter Dish, Pyrex Spring Blossom Pitcher

Best Pyrex Stacking Ideas

Vintage Pyrex is so pretty, it’s a shame to store it inside a kitchen cabinet. Instead, collectors often arrange their wares on open shelves, carts or hutches using a technique designed to show off each individual piece: stacking.

My own stacking preference is a mix of form and function: I want to be able to see and enjoy the patterns and colors, but I also want easy access so that the items in my collection are actually usable for cooking. So, precarious towers of Pyrex are not my thing. Another consideration: preventing rattles and other noises.

One fun thing about stacking is that it gives you an opportunity to mix and match complementary pieces. Recently I finally acquired enough round mixing bowls to put together my own custom set: (from top to bottom) Spring Blossom (x2), Spring Blossom 2, Verde.

img_2246

Since the mixers are nested bowls, you need a little something between each one to lift it up and make the pattern visible (I used folded sheets of bubble wrap). There are lots of ways to do this for different sizes and shapes of Pyrex, so here I have gathered the best ideas I’ve seen on the internet, on social media and in collector groups:

  • packing peanuts
  • bubble wrap
  • Ziplock containers
  • ramekins
  • bags of rice, beans, popcorn, etc.
  • empty packing tape rolls
  • inverted lids
  • glass tumblers
  • cheap plastic bowls
  • Jell-O boxes
  • chunks of lumber
  • slices of pool noodles
  • tuna cans (or similar)
  • berry baskets
  • paper bowls
  • small plastic food containers (e.g., sour cream, margarine, yogurt, deli containers)
  • cut up egg containers
  • squares of non-skid rug protector (for stability)
  • styrofoam blocks
  • floral foam blocks
  • old washclothes
  • canning rings
  • plastic coffee cup lids

Of course, these methods can work for any kind of vintage kitchenware, not just Pyrex. Corning Ware, for example, stacks really easily on inverted lids. Over the weekend we installed some new shelves to house my collection, so stacking all kinds of dishes has been on my mind.