Whole Wheat Chocolate Chip Zucchini Bread

Two summers ago my neighbors gave me a giant zucchini from their garden. I shredded it, used some to make a loaf of zucchini bread, and froze the rest. Fast-forward to today and we are sheltering at home, eating out of the pantry and freezer, and limiting trips to the grocery store due to the current pandemic. Perfect time to pull out that frozen zucchini and make something delicious!

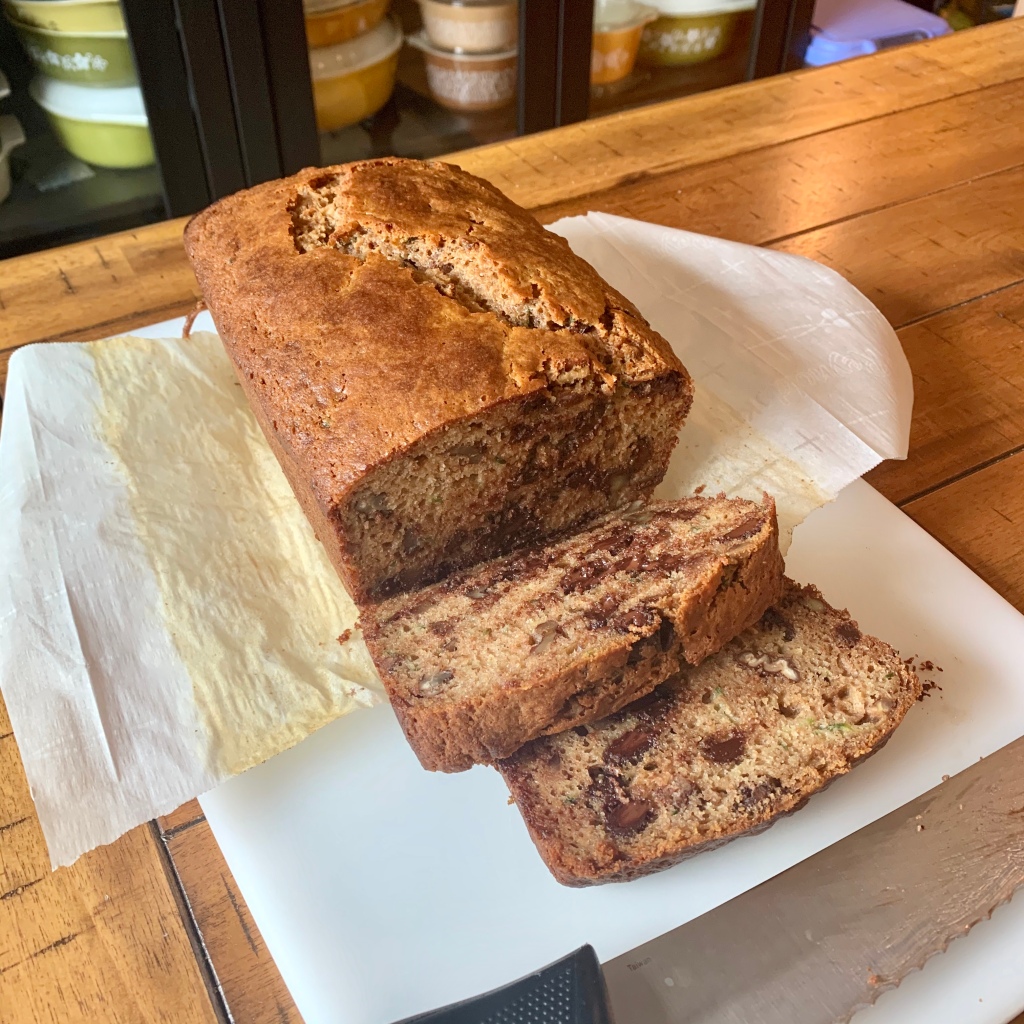
I started with King Arthur Flour’s 100% Whole Wheat Zucchini Chocolate Chip Bread recipe. But I wasn’t really feeling the “100% whole wheat” thing, so I went half and half with some all purpose flour. I also added sour cream just because, and made a few other adjustments. The result: a supremely moist, rich loaf best served as a decadent dessert.

By the way, if you’re looking for more things to make with zucchini, this Yeasted Lemon Zucchini Bread is a fun departure from the usual quick bread.

Makes 1 standard loaf

Ingredients

1 cup whole wheat flour
1 cup all purpose flour
1 tsp salt
1 tsp baking powder
1 tsp baking soda
1 tsp cinnamon
2 eggs
1 cup sour cream
1/2 cup vegetable oil
1/3 cup honey
1/3 cup brown sugar
1 tsp vanilla extract
1 1/2 cup shredded, unpeeled zucchini (about 1)
1 cup chopped pecans
1 cup semi-sweet chocolate chips

Preheat oven to 350 degrees. Lightly grease a standard loaf pan and line with parchment paper.

In a large bowl, whisk together the flours, salt, baking powder, baking soda and cinnamon.

In a separate bowl, beat the eggs, sour cream, oil, honey, brown sugar and vanilla extract until smooth. Stir in the zucchini. Pour over the dry ingredients and mix until just incorporated. Stir in the pecans and chocolate chips.

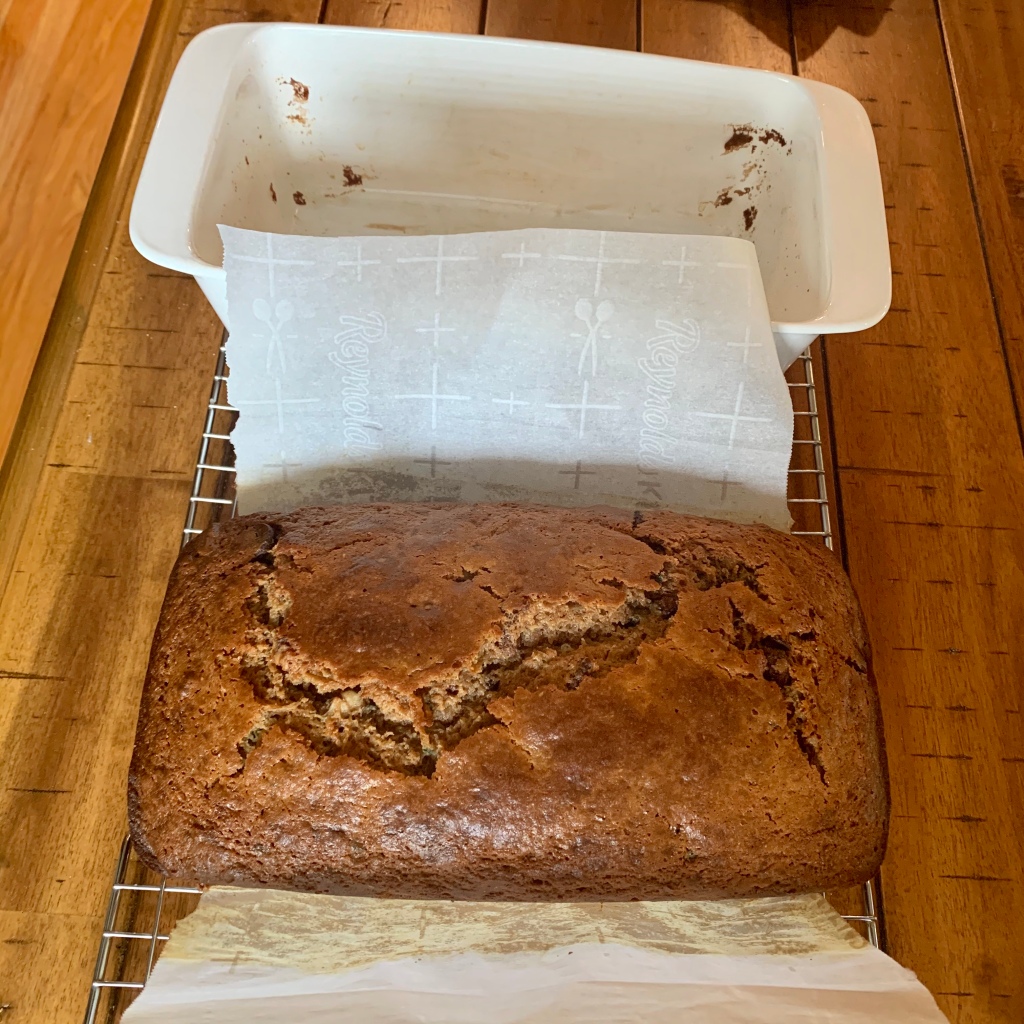
Pour into the prepared loaf pan. Bake for 55 to 65 minutes, or until a toothpick inserted in the center comes out clean. Let cool for 10 minutes, then remove from pan and cool completely on a rack before serving.

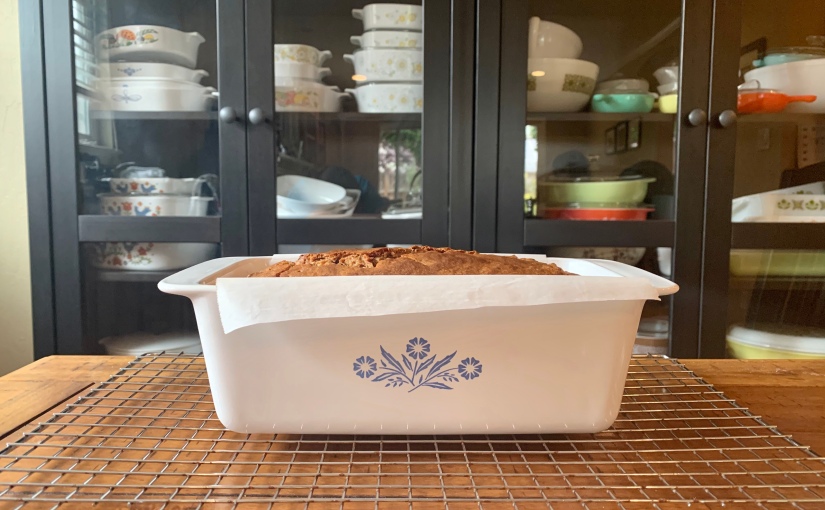
Pictured: Corning Ware Blue Cornflower P-315-B Loaf Dish

Christmas Dinner 2018

Arcopal’s French Hen pattern reminds me of The 12 Days of Christmas, so I made it the starting point for my Christmas dinner tableware this year. I haven’t had a chance to use my Arcopal casserole dish since finding it last year, so I’m excited to finally put it to work. I’ll combine it with some red and green Pyrex to round out the Christmas motif.

I’m also using some Corning Ware petite pans to make individual bread puddings for dessert. They don’t match, but they’ll allow me to prep the puddings a day in advance and then go directly from refrigerator to oven for baking — so hey, function over form!

The only thing I’m missing is a vintage platter for my Cornish hens. I’m going to have to start looking for one on my thrifting adventures.
Tentative menu:

  • Roasted Cornish Game Hens with Lemon and Herbs (recipe)
  • Barley and Herb Pilaf
  • Mashed Potatoes
  • Roasted Brussels Sprouts
  • Salad
  • Mini Bourbon Bread Puddings (recipe)

Pictured: Pyrex Verde 404 Round Mixing Bowl, Arcopal French Hen Casserole, Pyrex 024 Holiday Casserole Round Casserole, Pyrex 024 Lime Round Casserole, Corning Ware Spice O’ Life P-41-B Petite Pan (x2), Corning Ware Blue Cornflower P-41-B Petite Pan (x5), Corning Ware Blue Cornflower P-89-B Lipped Saucepan

Sweet & Smoky Mashed Sweet Potatoes

I like sweet potatoes, but I’ve never been a fan of that ubiquitous Thanksgiving casserole involving sweet potatoes, sugar and marshmallows. Instead, I lean toward the savory side — sweet potatoes are sweet enough on their own without all that extra sugar, after all.

In this recipe, chipotle adds a smoky flavor that is subtle enough to complement most other Thanksgiving dishes. We’ll be enjoying it tomorrow with turkey and all the trimmings.


Ingredients

3 lbs sweet potatoes, peeled
4 tbsp butter
3 tbsp heavy cream
1 tbsp fresh squeezed lime juice (about 1 lime)
1 chipotle pepper (canned in adobo sauce), minced
1 tsp adobo sauce
1/2 tsp salt

Using your preferred method, cook the sweet potatoes until fork tender. (You can boil or steam them, or use a sous vide machine if you have it: Sous vide is a handy technique because you can attain perfect doneness with very little effort. I cooked my sweet potatoes with the sous vide for 45 minutes at 194 degrees – basically this recipe, minus the seasoning.)

In a small saucepan, combine the butter and cream and cook over low heat until the butter is melted.

Mash the sweet potatoes with the butter and cream in a large bowl. Add the lime juice, chipotle, adobo sauce and salt and continue mashing until smooth.

Pictured: Pyrex Town and Country 444 Cinderella Mixing Bowl, Pyrex Spring Blossom 401 Round Mixing Bowl, Corning Ware French White F-12-B Casserole, Corning Ware Blue Cornflower P-89-B Lipped Saucepan

Yeasted Lemon Zucchini Bread

We are lucky enough to have wonderful neighbors who share produce from their vegetable garden year-round. So when they brought over a monster zucchini recently, I decided to make some zucchini bread. But not just any zucchini bread!

While I love traditional zucchini bread — usually a quick bread leavened with baking powder — there is something really satisfying about baking yeast breads. The smooth feel of well kneaded dough, watching it rise, shaping it — not to mention the physical work and patience required. Plus, you can’t beat the soft, fluffy texture!

So I set out to make a yeasted zucchini bread, something with the flavors of the traditional recipe and just a touch of sweetness, like a breakfast bread. It’s delicious served warm with plenty of butter!


Ingredients

3 1/2 cups bread flour (stir your flour before measuring to loosen)
1/3 cup sugar
2 tsp salt
1 tsp cinnamon
2 1/4 tsp active dry yeast (1 packet)
1 1/2 cups grated zucchini (about 2 medium)
2 tsp finely grated lemon zest
3/4 cup lukewarm water
2 tbsp honey
1 1/2 tbsp olive oil
cooking spray

In a large bowl, mix together the flour, sugar, salt, cinnamon and yeast. Add the zucchini and lemon zest and stir to incorporate. In a separate bowl, combine the water, honey and olive oil, then add to the flour mixture.

Knead until smooth. I like to do the bulk of the kneading with an electric stand mixer using the dough hook attachment (for about 4 minutes), and then finish it up by hand. The dough starts out a little wet, so add small amounts of flour as you go (not too much) to keep it from sticking to your hands. The end result should be smooth and slightly tacky, but not sticky. (King Arthur Flour has a nice kneading tutorial here.)

Oil your bowl with cooking spray and place the dough inside. Spray the top of the dough, then cover loosely with plastic wrap or a cotton towel. Let rise in a warm place until roughly doubled in size, about 1 hour.

Turn the dough out onto a floured surface and knead gently for about a minute. Shape into a sandwich loaf (see this King Arthur Flour tutorial) and place into an oiled standard loaf pan. Cover loosely with plastic wrap or a cotton towel and let rise until almost doubled in size, about 1 hour.

Preheat oven to 325 degrees.

Bake until golden brown and internal temperature registers at 190 degrees, about 45-60 minutes. Let cool for a few minutes, then turn out onto a wire rack. Let cool another hour before serving.

Pictured: Corning Ware Blue Cornflower P-315-B Loaf Dish, Pyrex Yellow 404 Round Mixing Bowl, Pyrex Spring Blossom 444 Cinderella Mixing Bowl

Whole Roasted Butternut Squash

Have you ever struggled to cut open a rock-hard butternut squash? It seems like every recipe calls for splitting the thing in half (somehow avoiding chopping off a finger in the process), scooping out the seeds and then roasting the halves in the oven. But there’s a much better way!

When you roast the squash whole, the skin becomes papery, the seeds and stringy bits can be scraped out with a spoon, and the flesh slices like butter. Couldn’t be easier!

After roasting you can cube it up, toss with some olive oil, salt and pepper, and throw it under the broiler until nice and golden brown. Or you can puree it for soup. Or you can slice it and turn it into a pizza topping (which is where this squash is headed).

The whole-roasted method is not my invention, but I don’t understand why it’s not more common. It works for pretty much any type of squash, too.

Ingredients

1 butternut squash

Preheat oven to 400 degrees.

Pierce the squash with a knife several times, as you would a baked potato. Place on an oven-safe dish or baking sheet (rack is optional). Roast until the squash is tender, about 1 hour.

Let rest until the squash is cool enough to handle. Cut off the stem and base, peel off the skin, scoop out the seeds and prep as desired.

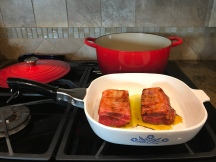
Pictured: Corning Ware Blue Cornflower P-10-B Square Skillet

Slow Cooker White Chicken Chili

Recently we had family coming over for dinner, but we were going to be away from home all afternoon. Perfect scenario for a slow-cooked meal! I decided to make white chicken chili with all the fixings, and it was a big hit. One nice thing about this recipe is that it’s relatively mild — despite the three jalapeños (they mellow out a lot when cooked). Then you can spice it up to taste with toppings.

Adapted from the White Chicken Chili in Slow Cooker Revolution.

Serves 6-8

Ingredients

2 onions, chopped fine
3 jalapeño chiles, stemmed, seeded and minced
2 tbsp olive oil
6 garlic cloves, minced
4 tsp ground cumin
2 tsp ground coriander
3 tbsp canned fire-roasted green chiles
4 cups low-sodium chicken broth
3 15-oz cans cannellini beans, drained and rinsed
3 lbs bone-in chicken thighs, skin removed
salt
pepper
1 tbsp masa harina
1/4 cup fresh cilantro, chopped

In a large skillet over medium-high heat, saute onions and jalapeños until translucent and slightly browned, about 8-10 minutes. Add garlic and cook until fragrant, about 1 minute. Stir in cumin, coriander and green chiles. Deglaze the pan with 1 cup of the broth, scraping up any browned bits, and transfer to slow cooker.

Add the beans and 2 cups more broth to the slow cooker and stir. Season chicken with salt and pepper and place in the slow cooker, making sure all the pieces are mostly submerged. Cover and cook on low until the chicken is tender and falls off the bone easily, about 4-6 hours.

Keeping the slow cooker on, remove chicken and shred into bite-size pieces (discard the bones). Once the chili has settled, remove as much fat as possible by skimming the surface with a large spoon. Stir back in the shredded chicken and let sit a few minutes until hot.

In a small pot, simmer masa in 1 cup of chicken broth for about 10 minutes to thicken, then add to the slow cooker. Stir in cilantro and add salt to taste. Serve with an array of toppings.

Toppings:

  • lime wedges
  • sliced jalapeños (fresh or pickled)
  • shredded cheese
  • chopped green onions
  • sour cream
  • hot sauce (Tabasco or similar)
  • red pepper flakes

Pictured: Pyrex Butterfly Gold 403 Round Mixing Bowl, Corning Ware French White F-15-B Oval Casserole, Corning Ware Spice O’ Life P-81-B Menuette Saucepan, Corning Ware Blue Cornflower P-41-B Petite Pan (x4)

Smoked Paprika Braised Beef Short Ribs

Smoked paprika is one of my favorite spices — it adds a layer of flavor that makes dishes seem more complex than they actually are. Since it’s a major ingredient in Spanish chorizo, it can also make vegetarian dishes taste meaty without the meat — it’s great in braised winter greens, for example. It would also be nice in homemade mac & cheese.

In this dish it brings a smoky deliciousness to another food I’m obsessing over lately: beef short ribs. You could use basic stew meat instead (3 pounds), but the bone-in ribs produce a rich, flavorful sauce that really can’t be beat. Serve over rice, polenta or mashed potatoes.

Adapted from The New York Times’ Beef Stew with Sweet and Hot Paprika.

Serves 6

Ingredients

4 pounds bone-in beef short ribs (English style, cut in 3-inch chunks)
1/2 cup olive oil
3 tbsp Spanish smoked paprika
kosher salt
pepper
1 sprig rosemary
1 bay leaf
3 large onions, roughly chopped
4 carrots, peeled and cut in 2-inch chunks
3 cloves garlic, minced
1-2 cups dry red wine
2 tsp ground cumin
1 tsp dried marjoram
1/4 tsp cayenne
grated zest of 1 lemon
1 14 1/2 can diced tomatoes, with their juice

Combine 1/4 cup olive oil and 1 tbsp smoked paprika. Rub the mixture all over the meat, and sprinkle with kosher salt and pepper. Marinate in a large, covered bowl for at least 2 hours, preferably overnight.

In a large skillet over medium high heat, heat up 2 tbsp of olive oil and brown the meat in small batches (avoid overcrowding). Add more oil as needed. Transfer the meat to a 5-to 6-quart dutch oven as you go. Add the carrots, bay leaf and rosemary to the dutch oven about halfway through.

Lower heat to medium. If you have a lot of charred spices in the skillet, remove by wiping with damp paper towels. Then add the remaining olive oil and onions and saute until translucent, about 5 minutes. Add the garlic and saute until fragrant, about 1 minute more. Season with salt and pepper to taste. Stir in 2 tbsp smoked paprika along with the cumin, marjoram, cayenne and lemon zest.

Add wine and simmer for a minute, stir in diced tomatoes and then transfer everything to the dutch oven.

Bring to a boil, then lower heat and simmer, covered, until the meat is tender, about 3 hours. Remove the meat and set aside, covered with foil to keep warm. Skim most of the fat from the sauce and then simmer about 10 minutes more to reduce a little. Add the meat back in and simmer another couple minutes, then serve.

Pictured: Pyrex Spring Blossom 2 403 Round Mixing Bowl; Pyrex Spring Blossom 402 Round Mixing Bowl; Corning Ware French White F-15-B Oval Casserole; Corning Ware Blue Cornflower P-10-B Square Skillet

Creamy Broccoli, Kale and Potato Soup

This recipe started as a desire to recreate the homemade cream of broccoli soup I had growing up. These days, all you ever see is broccoli cheddar soup — but the soup I know and love is pure broccoli and cream, no cheese required.

So when I picked up a copy of The Frugal Gourmet at Hope Thrift recently, I was delighted to find that Jeff Smith’s recipe for cream of broccoli soup is the one I remember (in fact, I’m pretty sure my parents had the same book in their kitchen). Of course, I can’t help but tweak things, and I found myself wondering how green the soup would turn out with the addition of some kale, among other changes. The answer is … very green!

I recommend serving with garlic bread or a nice crusty baguette.

Serves 6

img_2515

Ingredients

2 tbsp butter
1 medium onion, chopped
2 celery stalks, chopped
2 cloves garlic, minced
1/2 lb kale (about 1 bunch), stemmed and finely chopped
1 1/2 lb broccoli, finely chopped (including peeled stems and any leaves)
1 large russet potato, peeled and chopped into 1/2-inch cubes
6 cups low-sodium chicken broth
1 bay leaf
1 tsp dried thyme
1 cup heavy cream
salt
pepper
optional garnishes: fresh parsley, croutons

In a dutch oven over medium-high heat, saute onions and celery in the butter until translucent, about 5 minutes. Add the garlic and saute another minute. Stir in the kale a handful at a time and cook until wilted, about 2-3 minutes.

Add the broccoli, potato, chicken broth, bay leaf and thyme. Bring to a boil and then simmer, covered, until the kale, potatoes and broccoli are very tender, about 15 minutes. Turn off the heat and puree the soup with an immersion blender (or in a regular blender) until your desired level of smoothness.

Return to low heat and stir in the cream, cooking until the soup is hot. Season with salt and pepper to taste. Garnish with chopped parsley and/or croutons.

Pictured: Corning Ware Fresh Cut P-43-B Petite Pan (x2), Corning Ware Blue Cornflower P-41-B Petite Pan, Pyrex 508 Measuring Cup


Chicken and Black Bean Enchiladas

It’s surprisingly easy and fast to make red enchilada sauce from scratch, and it tastes so much better than the canned stuff. We typically have all the ingredients already, and I love being able to whip something up out of the pantry. Plus, you can make it as spicy as you want! If I were not feeding a 5-year-old, I would probably double down on the chipotle.

In the spirit of cooking whatever you happen to have on hand, it’s also easy to experiment with the enchilada filling. Sauteed mushrooms, leeks or zucchini would be yummy, or you could throw in some black olives or corn. Ground beef or turkey would also work.

Note: If you don’t have precooked chicken, you can simmer a boneless chicken breast in the sauce until cooked through (about 15-20 minutes), then shred or chop into small pieces.

Serves 6

img_2263

Ingredients

1 small yellow onion, chopped
3 cloves garlic, roughly chopped
1 15 oz can tomato sauce
1 14 1/2-oz can low sodium chicken broth
3 tbsp chili powder
1 tbsp ground cumin
1 tsp dried oregano
1/2 tsp ground chipotle
1 tsp salt
1 tbsp olive oil
8 oz cooked chicken, chopped or shredded (see note above)
1 15 1/2-oz can black beans, drained and rinsed
1 tsp masa harina (see my note about masa here)
cooking spray
12 medium corn tortillas
16 oz shredded cheese (Mexican blend)
3 green onions, chopped

For the sauce: In a small pot, combine 1/2 cup of the chopped onions, garlic, tomato sauce, chicken broth, chili powder, cumin, oregano, chipotle and salt. Pulse with an immersion blender until smooth (or do this in a regular blender). Bring to a boil, then simmer for about 10 minutes.

For the filling: In a large skillet over medium-high heat, saute the rest of the onions until translucent, about 5 minutes. Lower the heat to low and add chicken, black beans and 1/2 cup of the sauce; stir until everything is coated and hot. Sprinkle in the masa and stir until absorbed. Season to taste with salt and pepper.

For the assembly: Preheat oven to 350 degrees. Spray two 13×9 pans (or equivalent) lightly with cooking oil. Pour about 1/4 cup of the sauce into each pan and spread to coat the bottom. Heat up the tortillas in the microwave (this helps keep them from tearing).

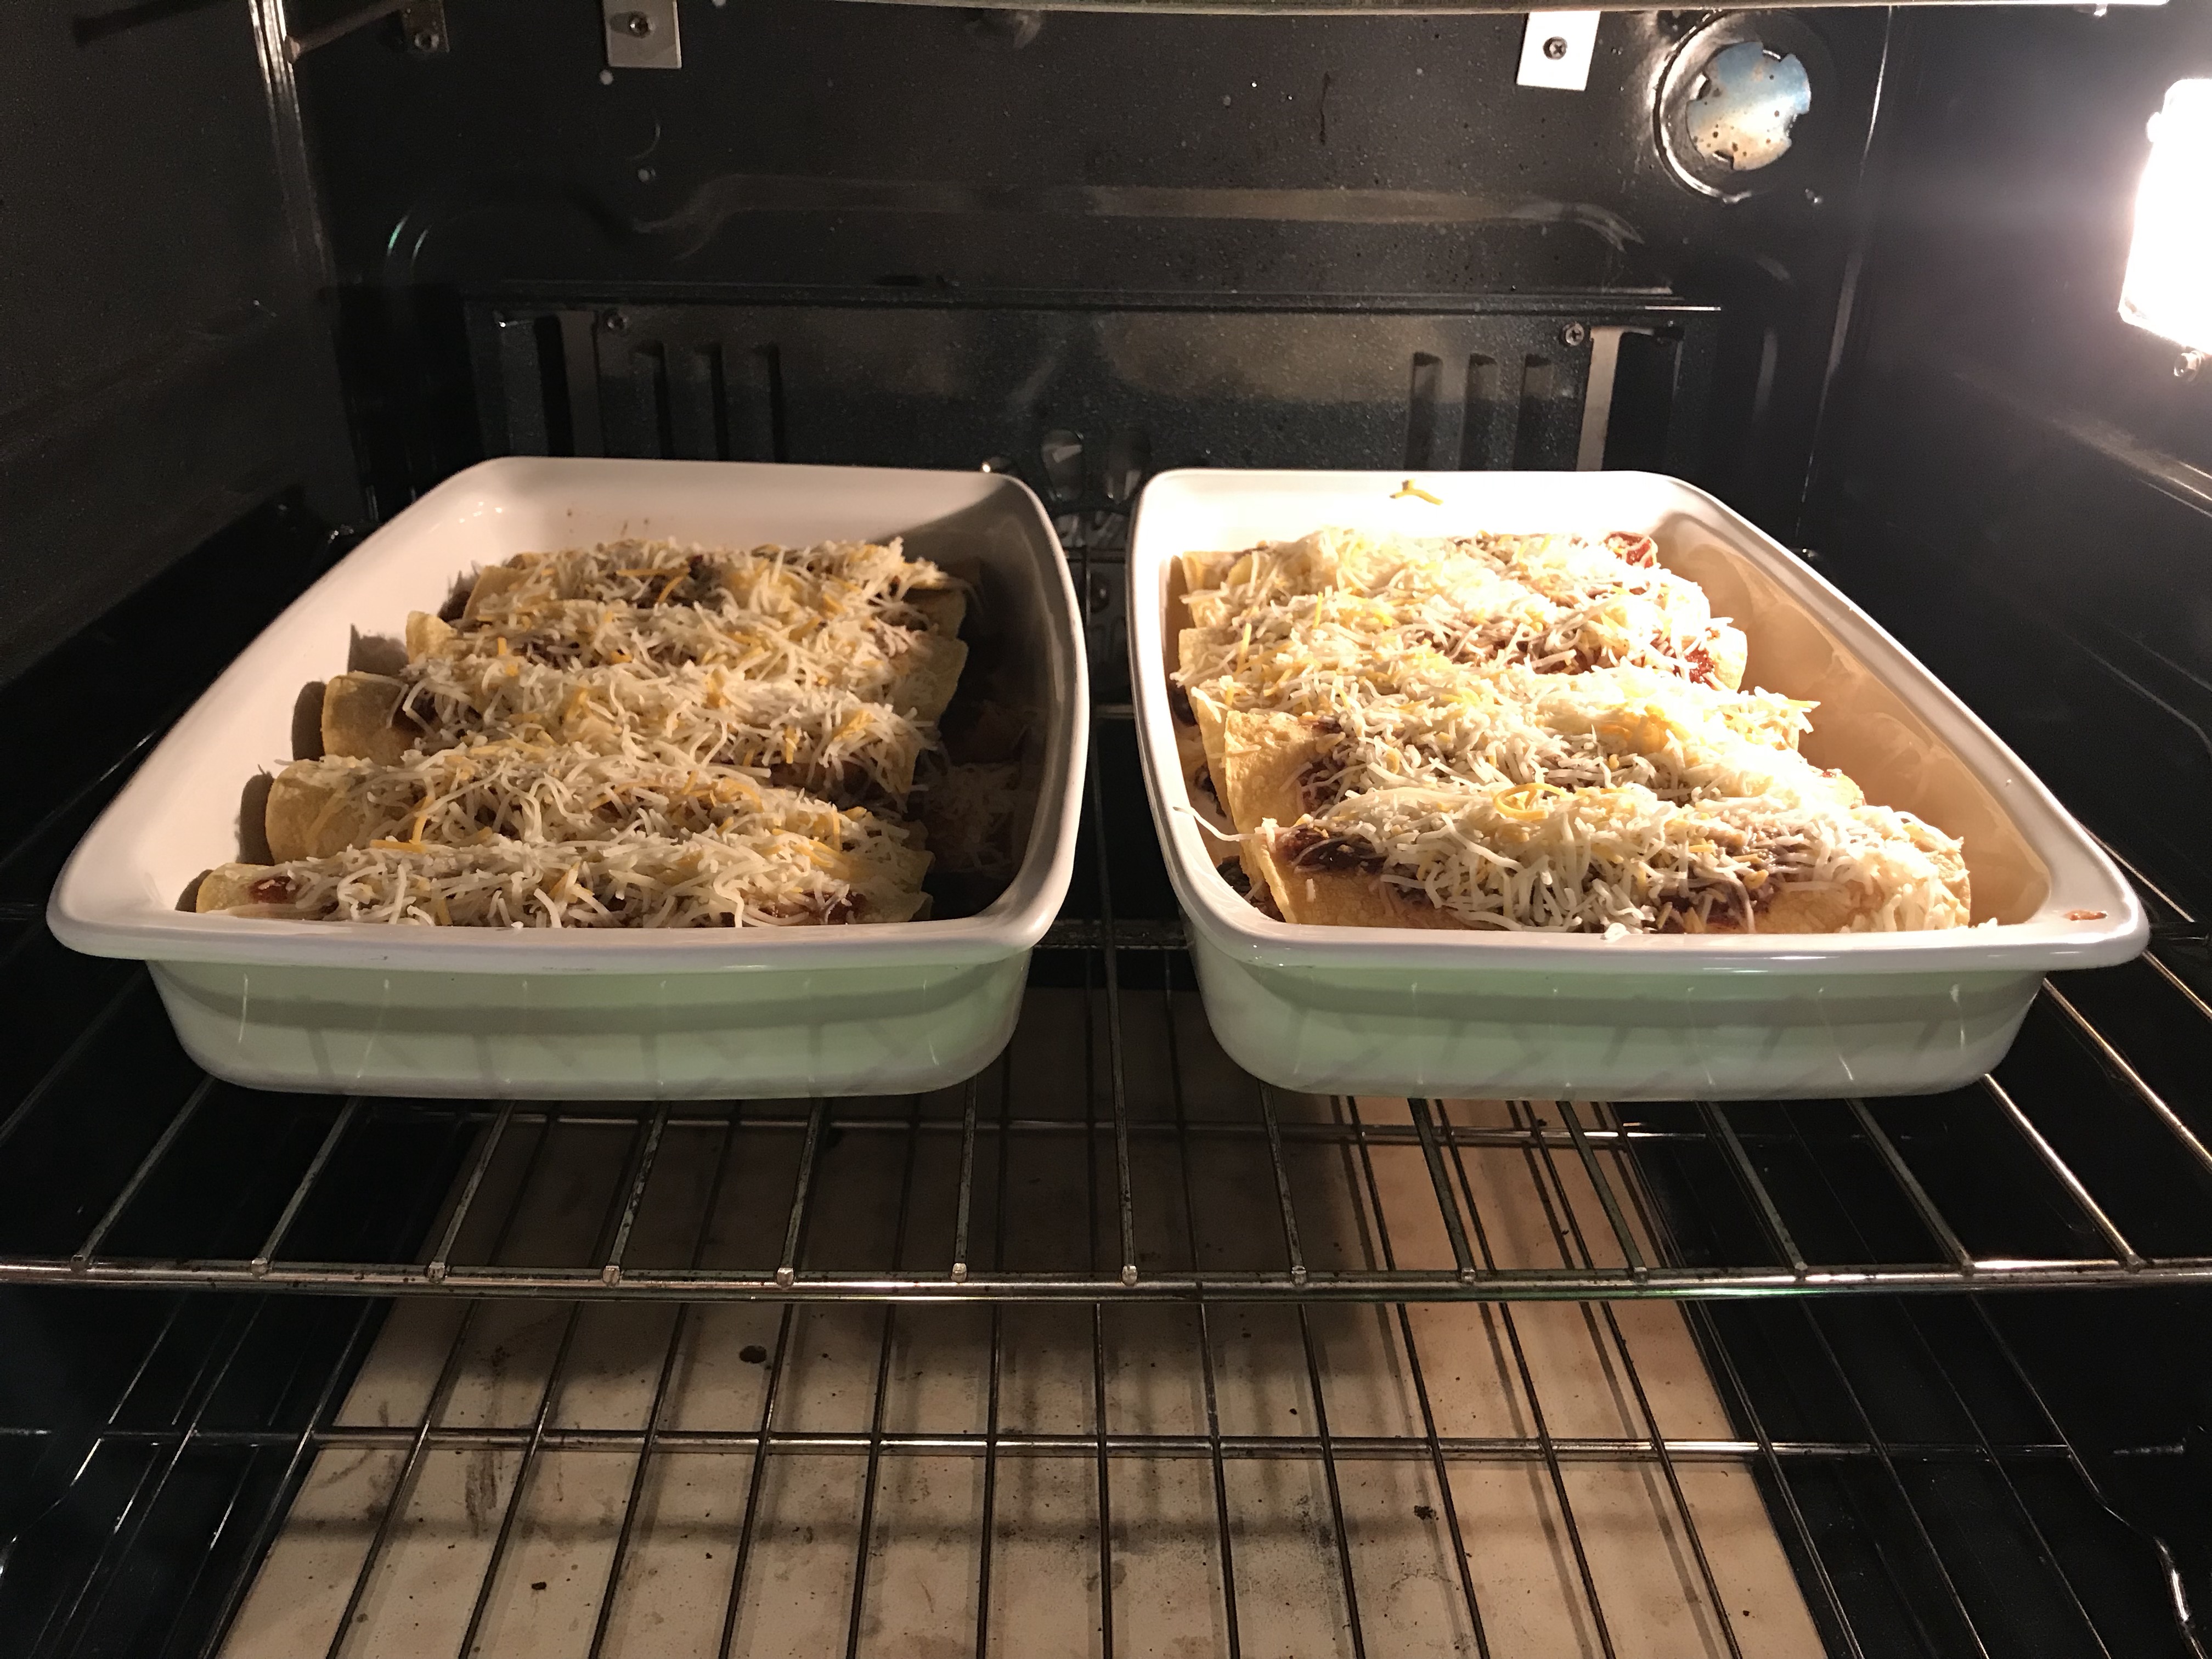
Spoon the filling into each tortilla in a line down the middle, and add a generous sprinkle of cheese. Roll up gently and place in the pan, seam side down. When the pans are full, pour the rest of the sauce over the tortillas and top with the rest of the cheese.

Bake uncovered until the cheese is melted and lightly browned, about 20 minutes. Garnish with chopped green onions.

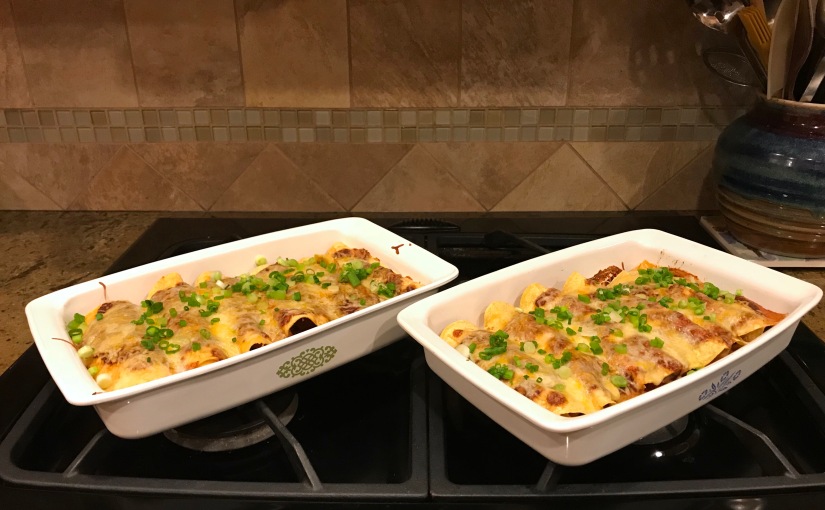
Pictured: Corning Ware Green Macrame P-332 Roaster, Corning Ware Blue Cornflower P-332 Roaster

Fool-Proof Beef Pot Roast with Bacon and Mushrooms

This is the moistest, tenderest, most flavorful pot roast I’ve ever made. It’s a little bit time-consuming, but well worth it for the end result! There are a few things I think make this recipe work so well: 1) Bacon provides smoke, salt and richness that really enhance the dish. 2) Dried mushrooms pack an intense punch for even more flavor. 3) Using two small roasts instead of one big one, and trussing them — this is something Cook’s Illustrated recommends, because it promotes even cooking. 4) Patience — don’t try to rush the cooking time.

I call this fool-proof because I messed up a lot of things along the way and it still came out great. First off, I chose a pot that was too small, because I was determined to use my Corning Ware, so I had to scoop out a bunch of the cooking liquid and cram the meat in sideways. Also I’m terrible at trussing, so it was starting to fall apart at the end. Most pot roast recipes recommend searing the roasts before cooking, but I didn’t bother, because they’re unwieldy and I always end up splashing myself with oil and I hate that step. And I miscalculated my prep time, so by the time I got the whole thing in the oven, dinnertime would have been pushed back to 9 p.m. (way too late for my 5-year-old). My husband whipped up some barbecued chicken as a plan B, and I stewed about not being able to eat the dish I’d been slaving over. Thankfully, pot roast tastes even better reheated the next day (more on that in the recipe below), so after it finished cooking, I let it cool a bit and then put it in the refrigerator and went to bed.

Adapted from Cook’s Illustrated‘s Italian-Style Pot Roast.

Serves 8

Ingredients

8 oz bacon, snipped into 1/2-inch pieces
2 medium onions, chopped
4 medium carrots, peeled and chopped
3 celery ribs, chopped
6 garlic cloves, sliced
1 1/2 cups red wine
2 tbsp tomato paste
2 14 1/2-oz cans diced tomatoes, drained
2 cups low-sodium beef broth
2 cups low-sodium chicken broth
1/2 oz dried mushrooms (porcini and/or others)
1/2 tsp red pepper flakes
2 tsp dried oregano leaves
2 bay leaves
2 3-lb boneless beef chuck roasts
salt and pepper

Preheat oven to 300 degrees.

In a large (at least 6-quart size) oven-safe pot, saute bacon over medium heat until fat has rendered and edges are starting to brown. Spoon out excess grease, reserving about 1 tbsp. Add onions, carrots and celery and cook until translucent, about 5 minutes. Add garlic and cook another 1 minute.

Add wine, tomato paste, diced tomatoes, mushrooms, red pepper flakes, oregano and bay leaves. Combine broths in a separate bowl.

Truss each roast tightly with kitchen twine. It doesn’t have to be pretty — you just want each roast to hold together in a roughly uniform shape while cooking. Season the roasts with salt and pepper, then nestle in the pot and pour in enough broth so that the meat is partially submerged. Bring to a boil.

Cover and bake for 3 1/2-4 hours, turning the meat at the halfway point. The roasts should be fork tender and falling apart. Remove the meat from the cooking liquid and let rest, covered with foil, for about 20 minutes.

(At this point you can return the meat to the pot and refrigerate overnight, if desired. This actually makes the next step a lot easier — skimming off the fat. In the fridge, the fat solidifies in a layer on top, which can be chipped away with a spoon. Then you can reheat the roast on the stove top.)

Set the (hot or reheated) meat aside. After skimming the fat from the surface, bring the cooking liquid to a boil and simmer to reduce a little into a sauce, about 30 minutes. You can use it as is or blend it with an immersion blender for a thick, rich sauce.

Slice the meat across the grain and pour a liberal amount of sauce on top. You might want more sauce in a gravy boat at the table. I actually ate spoonfuls of sauce by itself, it was so good!

Pictured: Corning Ware Spice O’ Life A-5-B Saucepot; Corning Ware Blue Cornflower P-332 Roaster; Pyrex Spring Blossom 2 403 Round Mixing Bowl; Pyrex Town and Country 501 Refrigerator Dish