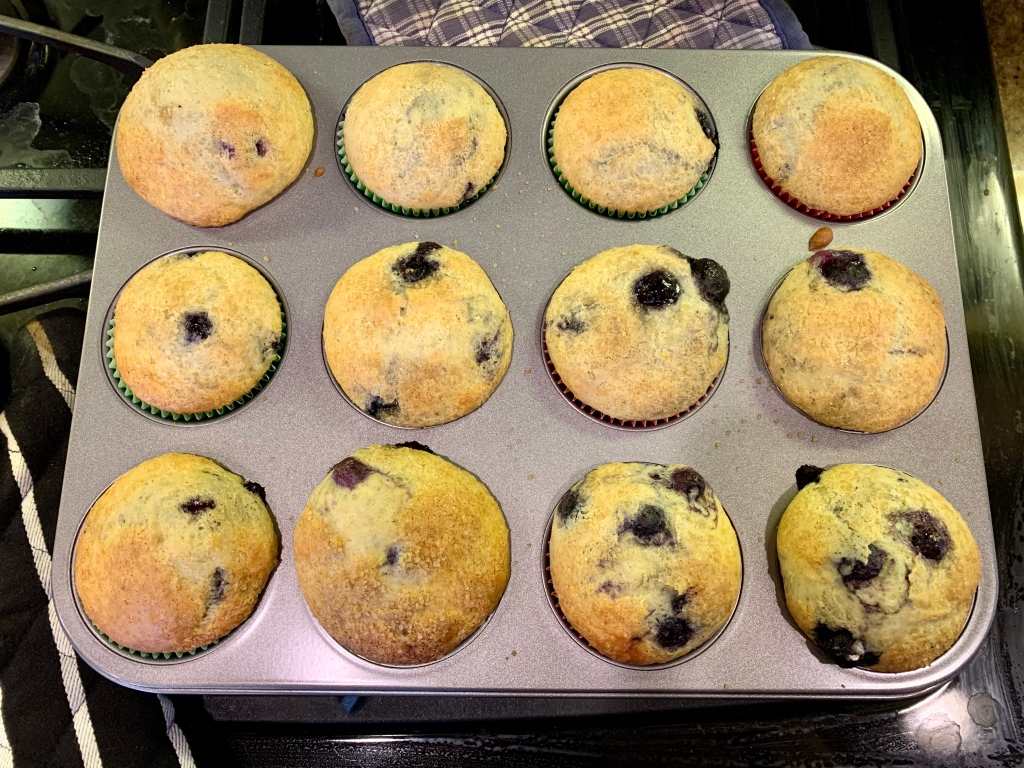
Orange Cardamom Blueberry Muffins

It’s Sunday morning and I’m baking on a rainy day. But this is no ordinary rainy day: It’s also day 3 of our new social distancing routine. For the next three weeks, our schools are closed, we’re working from home and we’re trying to limit our contact with other people and places. Doing our part to protect public health during this global coronavirus pandemic!

So, today baking serves two purposes: It’s a stress-relieving activity, and it’s restocking our supply of muffins (my daughter’s favorite breakfast) so we don’t have to go to the grocery store for a while. And the muffins are pretty delicious, too.

Adapted from Food and Wine‘s Blueberry-Sour Cream Muffins.

Makes one dozen muffins

Ingredients

1 1/2 cups all-purpose flour
2 tsp baking powder
1/4 tsp baking soda
1/2 tsp salt
1/4 tsp ground cardamom
1 egg
3/4 cup sugar
1 tbsp butter, melted and cooled slightly
1 cup plain yogurt
1 tsp vanilla extract
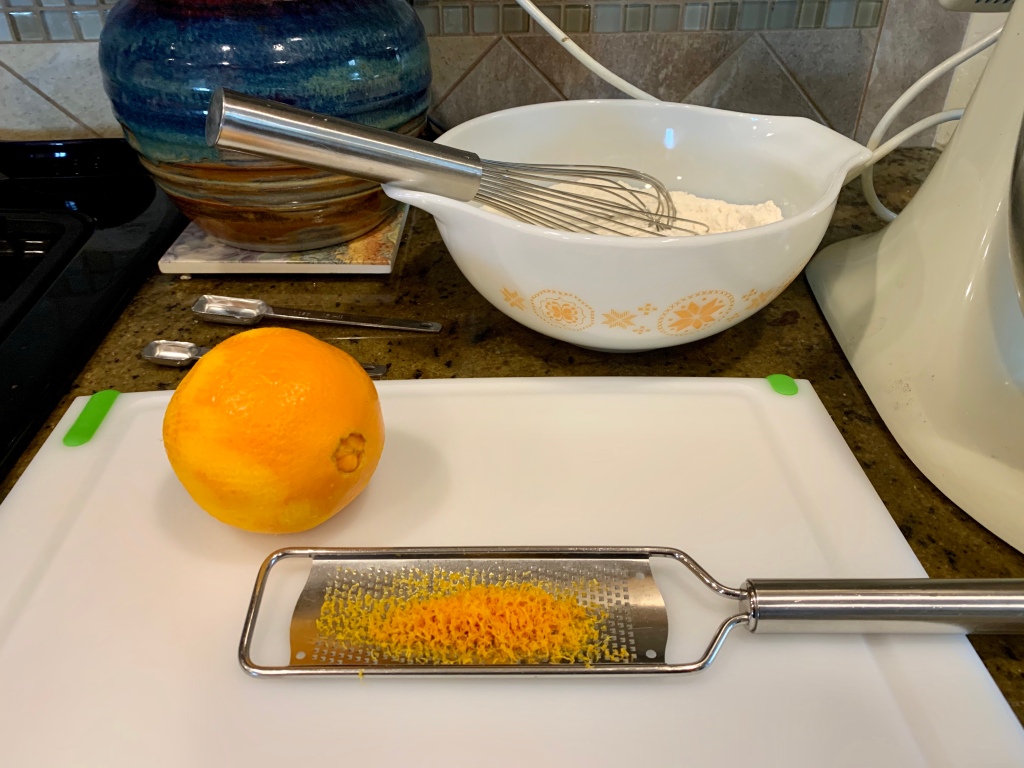
finely grated zest of 1 orange
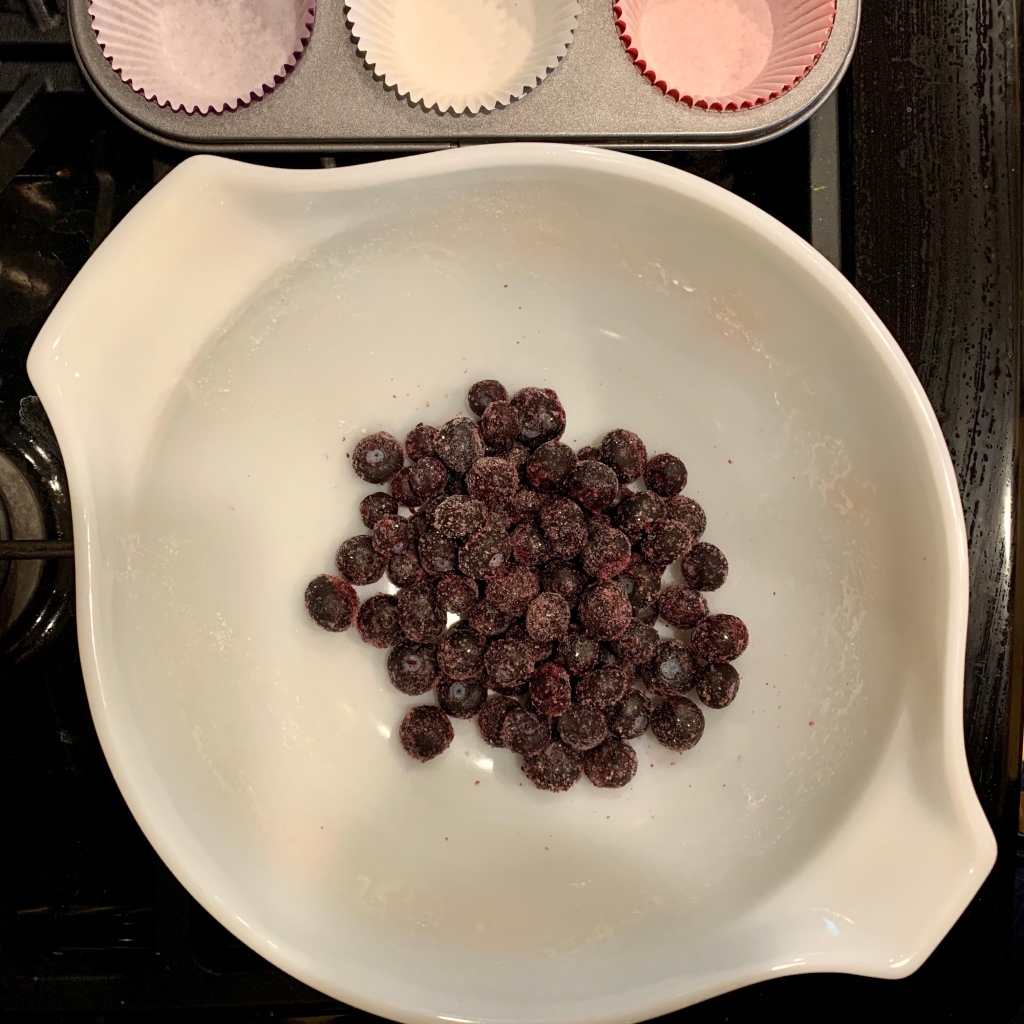
1 heaping cup frozen blueberries, tossed with 1 tbsp all-purpose flour
1 tbsp coarse sugar (such as Sugar in the Raw)

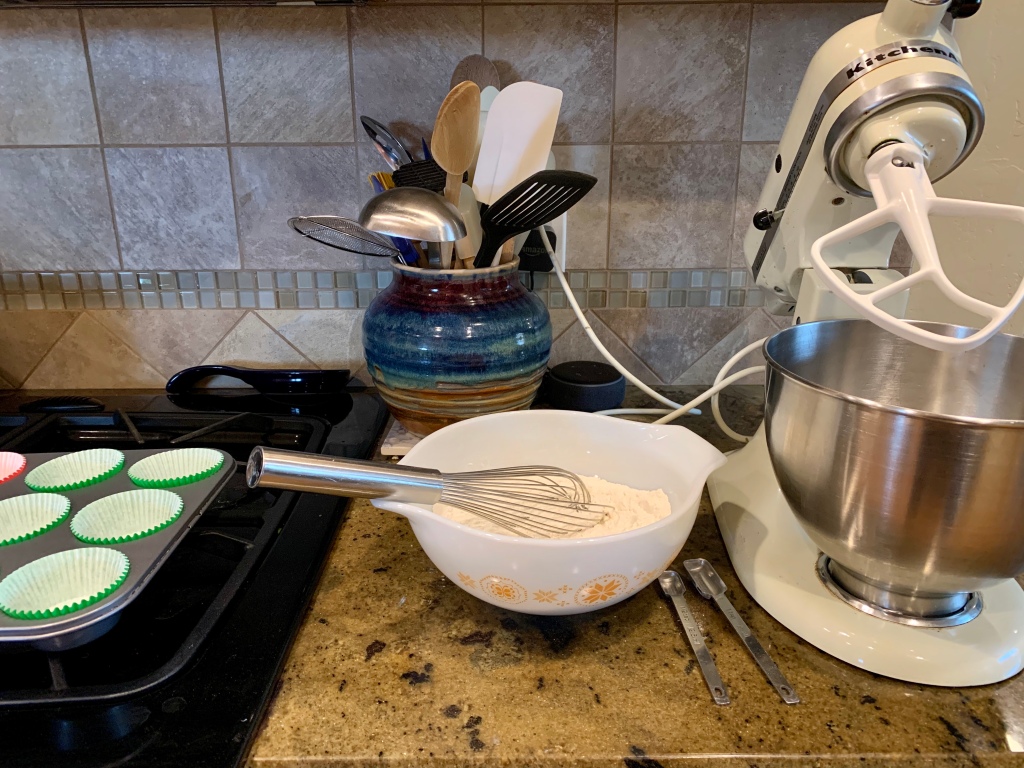
Preheat oven to 375 degrees. Grease a standard 12-cup muffin pan (or use paper liners).

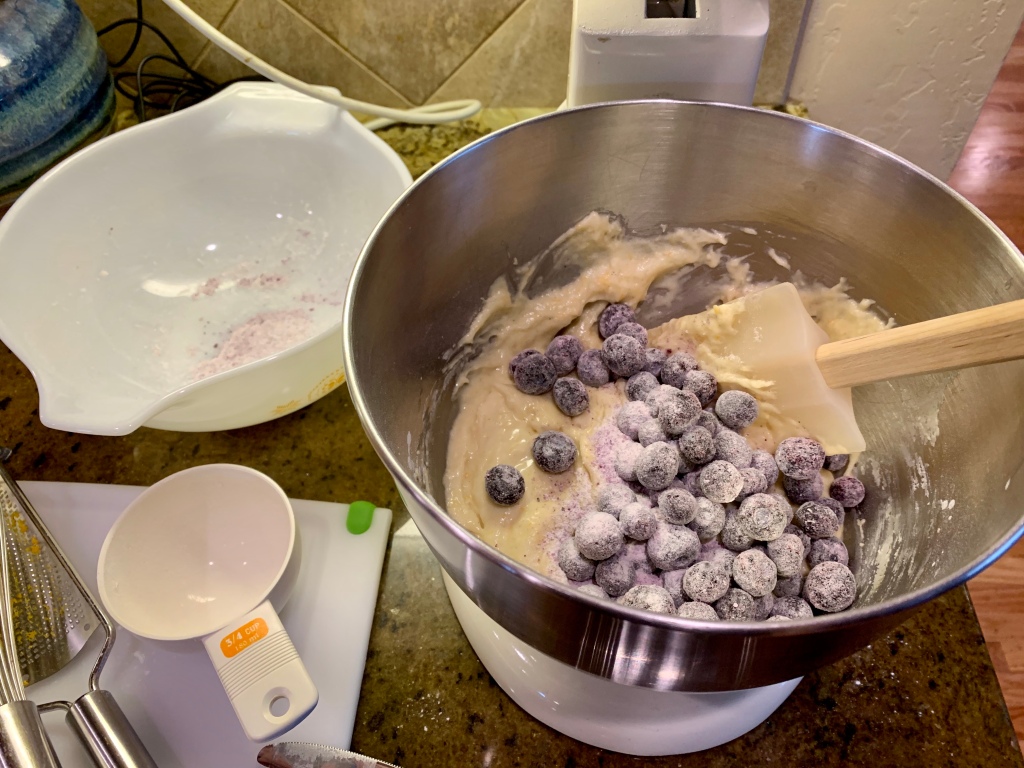
In a medium bowl, whisk together the flour, baking powder, baking soda, salt and cardamom. In a large bowl, beat the egg, then beat in the sugar and melted butter until smooth and pale yellow in color. Add the yogurt, vanilla extract and orange zest, and beat until well combined. Stir in the dry ingredients a little at a time, then fold in the blueberries.

Use a spoon or ice cream scoop to portion the batter into muffin cups, filling them about three-quarters full. Sprinkle liberally with sugar.

Bake for 25 minutes, until the tops are golden and a toothpick inserted in the center comes out clean. Let cool for a few minutes, then transfer the muffins from the pan to a cooling rack.

Pictured: Pyrex Town and Country 443 Cinderella Mixing Bowl, Corning Ware Snack-It Plate

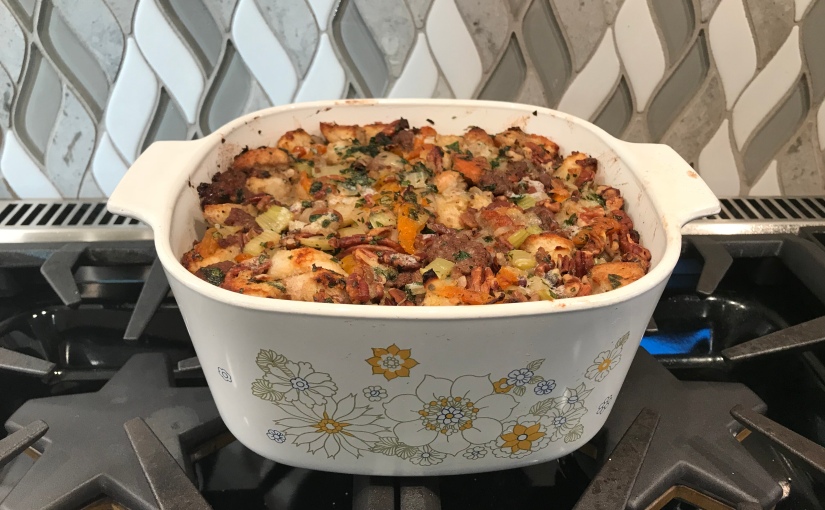
Sausage, Apricot and Pecan Stuffing

My go-to recipe for stuffing comes from Cooks Illustrated — it takes some time, but it’s straight-forward and delicious. My only complaint is that the original version makes too much stuffing, especially if you’re not planning to stuff the turkey. And let’s face it: Cooking the stuffing on the side just gives you more exciting options for the turkey itself (e.g., spatchcocking, deep frying, etc.).

So here, I’ve scaled the recipe back a bit to make it more manageable, and modified it for baking in a casserole dish. It’s suitable for a 13×9 baking pan or 3-quart casserole.

Adapted from Cooks Illustrated’s Bread Stuffing with Sausage, Pecans and Dried Apricots (The New Best Recipe, America’s Test Kitchen 2004).

Ingredients

1 loaf french bread (1 pound)
1 1/2 cup chopped pecans
1 lb sweet Italian sausage
4 tbsp unsalted butter
1 small onion, chopped
3 celery ribs, chopped
heaping 1/4 tsp each dried sage, thyme and marjoram
1/4 tsp ground black pepper
heaping 1/4 cup fresh parsley, finely chopped
2/3 cup dried apricots, sliced in thin strips (about 1/4 lb)
1/2 tsp salt
1 cup low-sodium chicken broth
2 large eggs

Preheat oven to 225 degrees. Divide the bread into thirds; save 1/3 for another use, and cut the rest into 1/2-inch slices. Arrange the slices in a single layer on a sheet pan and bake for 30-40 minutes. The bread should end up dried but not browned. Once it has cooled slightly, cut the bread into 1/2-inch cubes and set aside.

Turn the oven up to 350 degrees. Spread the pecans out on the sheet pan and toast in the oven until fragrant, about 6-8 minutes. Set aside.

Preheat the oven to 400 degrees.

In a large skillet over medium heat, cook the sausage (casings removed, if there are any), breaking it up into bite-size pieces, until browned and no pink remains. Transfer to a large bowl and set aside.

Remove excess grease from the pan, then add the butter. Saute the onions and celery until soft and translucent, about 6-8 minutes. Add the sage, thyme, marjoram and pepper and cook 1 minute more. Transfer to the bowl with the sausage and stir.

Stir the parsley, apricots, pecans and salt into the sausage mixture, then top with the bread cubes. In a separate bowl or measuring cup, whisk together the broth and eggs, then pour over the bread cubes.

Fold the bread cubes into the sausage mixture until thoroughly mixed. Spread the stuffing out into a buttered baking dish, tamping it down gently with a spoon or spatula to fill the dish evenly. (At this point you can cover and refrigerate overnight if desired. Let it sit out at room temperature for about 30 minutes before baking.)

Dot the surface of the stuffing with small bits of butter. Cover with a piece of buttered aluminum foil and bake until hot throughout, about 25-30 minutes. Remove the foil and bake about 15 minutes more, until the top is golden brown.

Pictured: Corning Ware Floral Bouquet Third Edition A-3-B Casserole, Pyrex Town and Country 444 Cinderella Mixing Bowl, Pyrex Town and Country 443 Cinderella Mixing Bowl, Pyrex Spring Blossom 2 403 Round Mixing Bowl, Pyrex Measuring Cup, Glasbake French Casserole

Sweet & Smoky Mashed Sweet Potatoes

I like sweet potatoes, but I’ve never been a fan of that ubiquitous Thanksgiving casserole involving sweet potatoes, sugar and marshmallows. Instead, I lean toward the savory side — sweet potatoes are sweet enough on their own without all that extra sugar, after all.

In this recipe, chipotle adds a smoky flavor that is subtle enough to complement most other Thanksgiving dishes. We’ll be enjoying it tomorrow with turkey and all the trimmings.


Ingredients

3 lbs sweet potatoes, peeled
4 tbsp butter
3 tbsp heavy cream
1 tbsp fresh squeezed lime juice (about 1 lime)
1 chipotle pepper (canned in adobo sauce), minced
1 tsp adobo sauce
1/2 tsp salt

Using your preferred method, cook the sweet potatoes until fork tender. (You can boil or steam them, or use a sous vide machine if you have it: Sous vide is a handy technique because you can attain perfect doneness with very little effort. I cooked my sweet potatoes with the sous vide for 45 minutes at 194 degrees – basically this recipe, minus the seasoning.)

In a small saucepan, combine the butter and cream and cook over low heat until the butter is melted.

Mash the sweet potatoes with the butter and cream in a large bowl. Add the lime juice, chipotle, adobo sauce and salt and continue mashing until smooth.

Pictured: Pyrex Town and Country 444 Cinderella Mixing Bowl, Pyrex Spring Blossom 401 Round Mixing Bowl, Corning Ware French White F-12-B Casserole, Corning Ware Blue Cornflower P-89-B Lipped Saucepan

No-Knead Harvest Bread

No-knead bread is so easy, and comes out so good, I rarely make any other kind. The technique uses a wet dough and ultra-long rise to generate flavor and gluten without the physical work of kneading. There’s really no other bread recipe that gives you a better ratio of low effort to incredible result.

The main thing to remember is that you need about 22 hours total from the time you start to when the bread is ready to eat. Very little of that time is active prep time, but you do need to plan your bread-making schedule in advance. The dough is very forgiving, though, so there’s a lot of wiggle room in the timing.

Here I used pumpkin to give the bread a nice fall color and tender texture. But you can omit the pumpkin and still end up with an excellent loaf — just increase the water to 1 1/3 cup (300 grams). You can also swap out the rye flour for whole wheat or just bread flour.

Adapted from the Basic No-Knead Bread Recipe in Jim Lahey’s My Bread (I highly recommend this cookbook — it is full of terrific breads, some unique, top-notch pizzas and a bunch of sandwich and other bread-related recipes).

Ingredients

2 3/4 cups bread flour (367 grams)
1/4 cup rye flour (33 grams)
1 1/4 tsp salt (8 grams)
1/4 tsp active dry yeast
1 cup plus 2 tbsp water
1/2 cup pumpkin puree
yellow cornmeal

In a large bowl, stir together the two flours, salt and yeast.

Combine 1 cup of water with the pumpkin puree in a separate bowl and stir until smooth. Add to the flour mixture, then stir until completely incorporated. The result should be a wet, sticky dough that forms a shaggy ball. If the dough feels dry, add the remaining 2 tbsp of water a little at a time as needed.

Cover the bowl lightly with plastic wrap, then let rise at room temperature for about 18 hours. When the dough is ready, it will have more than doubled in size and spread out from edge to edge of the bowl. The surface should be dimpled all over with bubbles.

Using a floured spatula, scrape the dough out of the bowl onto a floured surface, keeping it in one piece. It will be sticky and stringy. Fold the dough in half on itself a few times and shape into a ball. Make sure the top and bottom of the ball are well floured, then cover loosely with a smooth (not terry-cloth) towel and let rise until almost doubled, about 1-2 hours. (I like to use a floured proofing basket for this step because it makes a pretty loaf, but it’s not essential.)

Preheat oven to 475 degrees and place a heavy pot (about 5-quart size, preferably cast iron), covered, on a rack in the lower third position. When the oven and pot are up to temperature and the dough is ready, take the pot out of the oven and remove the lid.

Dust the bottom of the dough lightly with cornmeal and gently drop it into the hot pot.  Don’t worry if it’s not perfect — it will even out on its own. You can score the top of the dough if you wish, but it will typically open up natural cracks as it bakes.

Cover the pot (remember it’s hot!), return to the oven and bake for 30 minutes. Remove the lid and bake for another 15-30 minutes. When the bread is done, the crust should be dark golden brown and the internal temperature of the loaf should be roughly 190 degrees.

Remove the loaf from the pot (a heat-proof spatula, spoon, tongs and/or pot holders help) and set it on a rack to cool for at least 1 hour. Cutting into it too early will result in a gummy texture. If desired, reheat the bread for 10 minutes in a 350 degree oven before serving.

Pictured: Pyrex Town and Country 444 Cinderella Mixing Bowl, Pyrex Town and Country 443 Cinderella Mixing Bowl, Pyrex Measuring Cup

Everything Rub

Years ago, my husband and I came across Szeged brand steak rub in a restaurant supply store. We tried it and were quickly hooked — it’s a great basic flavoring not just for steak, but for chicken, pork, even fish or vegetables. So while we still refer to it as steak rub, we should really call it an everything rub. We probably use it most often for roast chicken.

Over time, we’ve developed our own copycat version of the rub — a mix of spices we actually like better than the original. After all, when you blend your own spices you have a chance to use fresh, high-quality ingredients, and tweak the flavors to your taste.

Ingredients

1 tsp dried rosemary
1 tsp dried thyme
1 1/2 tbsp kosher salt
1 tbsp freshly ground pepper
1 tbsp onion powder
1 tbsp paprika (sweet)
1 tsp granulated garlic
1/2 tsp celery seeds

Using a mortar and pestle, grind the rosemary and thyme into small pieces. Combine with the rest of the ingredients and mix thoroughly. Store in a cool, dry place.

Pictured: Pyrex Town and Country 501 Refrigerator Dish, Hazel Atlas Mixing Bowl

Fool-Proof Beef Pot Roast with Bacon and Mushrooms

This is the moistest, tenderest, most flavorful pot roast I’ve ever made. It’s a little bit time-consuming, but well worth it for the end result! There are a few things I think make this recipe work so well: 1) Bacon provides smoke, salt and richness that really enhance the dish. 2) Dried mushrooms pack an intense punch for even more flavor. 3) Using two small roasts instead of one big one, and trussing them — this is something Cook’s Illustrated recommends, because it promotes even cooking. 4) Patience — don’t try to rush the cooking time.

I call this fool-proof because I messed up a lot of things along the way and it still came out great. First off, I chose a pot that was too small, because I was determined to use my Corning Ware, so I had to scoop out a bunch of the cooking liquid and cram the meat in sideways. Also I’m terrible at trussing, so it was starting to fall apart at the end. Most pot roast recipes recommend searing the roasts before cooking, but I didn’t bother, because they’re unwieldy and I always end up splashing myself with oil and I hate that step. And I miscalculated my prep time, so by the time I got the whole thing in the oven, dinnertime would have been pushed back to 9 p.m. (way too late for my 5-year-old). My husband whipped up some barbecued chicken as a plan B, and I stewed about not being able to eat the dish I’d been slaving over. Thankfully, pot roast tastes even better reheated the next day (more on that in the recipe below), so after it finished cooking, I let it cool a bit and then put it in the refrigerator and went to bed.

Adapted from Cook’s Illustrated‘s Italian-Style Pot Roast.

Serves 8

Ingredients

8 oz bacon, snipped into 1/2-inch pieces
2 medium onions, chopped
4 medium carrots, peeled and chopped
3 celery ribs, chopped
6 garlic cloves, sliced
1 1/2 cups red wine
2 tbsp tomato paste
2 14 1/2-oz cans diced tomatoes, drained
2 cups low-sodium beef broth
2 cups low-sodium chicken broth
1/2 oz dried mushrooms (porcini and/or others)
1/2 tsp red pepper flakes
2 tsp dried oregano leaves
2 bay leaves
2 3-lb boneless beef chuck roasts
salt and pepper

Preheat oven to 300 degrees.

In a large (at least 6-quart size) oven-safe pot, saute bacon over medium heat until fat has rendered and edges are starting to brown. Spoon out excess grease, reserving about 1 tbsp. Add onions, carrots and celery and cook until translucent, about 5 minutes. Add garlic and cook another 1 minute.

Add wine, tomato paste, diced tomatoes, mushrooms, red pepper flakes, oregano and bay leaves. Combine broths in a separate bowl.

Truss each roast tightly with kitchen twine. It doesn’t have to be pretty — you just want each roast to hold together in a roughly uniform shape while cooking. Season the roasts with salt and pepper, then nestle in the pot and pour in enough broth so that the meat is partially submerged. Bring to a boil.

Cover and bake for 3 1/2-4 hours, turning the meat at the halfway point. The roasts should be fork tender and falling apart. Remove the meat from the cooking liquid and let rest, covered with foil, for about 20 minutes.

(At this point you can return the meat to the pot and refrigerate overnight, if desired. This actually makes the next step a lot easier — skimming off the fat. In the fridge, the fat solidifies in a layer on top, which can be chipped away with a spoon. Then you can reheat the roast on the stove top.)

Set the (hot or reheated) meat aside. After skimming the fat from the surface, bring the cooking liquid to a boil and simmer to reduce a little into a sauce, about 30 minutes. You can use it as is or blend it with an immersion blender for a thick, rich sauce.

Slice the meat across the grain and pour a liberal amount of sauce on top. You might want more sauce in a gravy boat at the table. I actually ate spoonfuls of sauce by itself, it was so good!

Pictured: Corning Ware Spice O’ Life A-5-B Saucepot; Corning Ware Blue Cornflower P-332 Roaster; Pyrex Spring Blossom 2 403 Round Mixing Bowl; Pyrex Town and Country 501 Refrigerator Dish

Thrifted Find: Pyrex Divided Dishes

Pyrex divided dishes are especially fun to collect, due to the sheer variety of limited-release patterns out there. My favorite is Dandelion Duet (pictured above), which came out in 1959, advertised for its ability to hold two separate packages of frozen foods in one dish. (The Corning Museum of Glass has a great ad from the era in its library collection here.)

After a flurry of bidding on the Goodwill auction website, I’ve found myself with quite a few dishes (is this what obsession looks like?):

img_1892

Clockwise from top right: Verde, Snowflake (x2), Pink Daisy, Opal,  Royal Wheat, Golden Acorn, Town and Country, Dandelion Duet, Butterfly Gold.

Since shopping Goodwill online is sort of like cheating, I also took a picture of the pieces I actually scored in real-world thrift stores (Savers and Hope Thrift). Finding lids is always a particular treat.

img_1897

So what can divided dishes be used for? Chips and dip, cheese and crackers, soup and salad, chicken and waffles, spicy and mild, two different sides, different flavors of jello, individual pies with one crust … the possibilities are endless. I’ve also heard of people using them as dinner plates.

It’s worth noting that other manufacturers also made divided dishes. I frequently see Glasbake models in thrift stores, and Fire King seems to have some too.